
How to Fix Ceiling Cracks: A Professional Guide to Seamless Repair
North Mississippi's humidity and seasonal temperature swings stress ceilings year-round. This guide covers how to read the damage, make lasting repairs, and know when a professional is the right call.
A crack in your ceiling is rarely an emergency — but it is always a signal. In Oxford and throughout Lafayette County, ceilings take a beating from the same forces that challenge every other part of the home: humidity that swings from 30% in winter to 80% in summer, wood framing that expands and contracts with every season, and drywall joints that were only as good as the contractor who originally taped them.
TAV Construction repairs ceilings across North Mississippi daily. What we see most often are stress cracks that homeowners have been living with for years, nail pops that keep reappearing because they were spackled over instead of properly reset, and water-stained sections where someone painted over the damage without identifying the source. This guide walks through how to diagnose what you have, how a proper repair is performed, and the point at which doing it yourself costs more than calling a professional finisher.
Identifying Common Types of Ceiling Damage
The repair method depends entirely on the damage type. Misreading a structural crack as a cosmetic one — or vice versa — leads to wasted effort and recurring problems.
Reading the Crack Pattern
Hairline cracks that follow drywall seams or run parallel to the joists are almost always cosmetic — the result of seasonal wood movement or inadequate original taping. They feel shallow to the touch, don't change width over time, and carry no risk of material falling.
Wide cracks (wider than 1/8 inch), cracks that run diagonally across multiple drywall panels, or cracks accompanied by bowing or sagging are a different story. These often reflect movement in the framing or foundation below. Applying compound over a structural crack without addressing the movement underneath guarantees the crack returns — usually within a single season.
Yellow Staining and Soft Spots
Water-damaged drywall is easy to identify once you know what to look for. Yellow or brown ring staining marks the edge of where water pooled and dried. Soft spots — sections of the ceiling that flex when you press them — mean the drywall core has absorbed enough moisture to partially disintegrate.
The cardinal rule with water damage: repair the source before you touch the ceiling. Whether it's a slow roof leak, a condensation problem from inadequate attic insulation, or a plumbing line above, sealing a stained ceiling before the moisture is resolved means doing the same job twice. TAV's standard practice is to confirm the source is dry before any drywall work begins.
Why Nail Pops Keep Coming Back
A nail pop looks like a small raised bump — sometimes with a ring of cracked paint around it. It happens when the lumber framing dries out after initial construction and the drywall shifts slightly, pushing the fastener head toward the surface. In North Mississippi, where green lumber was commonly used through the 1990s and early 2000s, nail pops are a near-universal feature of homes more than fifteen years old.
Spackling over a nail pop without resetting the fastener is why homeowners see the same pop reappear after painting. The correct fix drives a drywall screw 2 inches from the existing fastener to re-anchor the board, dimples the old nail slightly below the surface with a hammer, and then mudding both indentations through two finishing coats.
How North Mississippi Humidity Attacks Joint Tape
Drywall joint tape — whether paper or mesh — bonds to the dried compound underneath it. When a home cycles through extreme humidity swings, that compound can re-absorb moisture and soften slightly at the surface. Over enough cycles, the tape separates from the joint and begins to bubble or peel.
This is especially common in homes without whole-home humidity control, in crawl-space homes where moisture migrates upward through floors and walls, and along the perimeter where the ceiling meets the wall — a joint that sees both surfaces moving independently. Re-taping a separated joint requires removing the old tape completely before applying new material; simply mudding over a loose tape bond adds weight without improving adhesion.
| Damage Type | Severity | Common Cause | Recommended Action |
|---|---|---|---|
| Hairline Stress Cracks | Low | Normal seasonal settling and temperature cycling | DIY-friendly with mesh tape and all-purpose compound |
| Tape Joint Separation | Moderate | Humidity expansion loosening paper tape from seams | Remove old tape, re-embed in fresh mud, feather and texture |
| Nail Pops | Low | Drywall screws backing out as lumber dries and shrinks | Drive a new screw, dimple the pop, two coats of mud |
| Water-Damaged Sections | High | Roof leak or plumbing failure saturating drywall | Source fix required first; cut and replace affected board |
| Wide Structural Cracks | High | Foundation movement or compromised framing | Call a pro — cosmetic repair without structural assessment is temporary |
Step-by-Step Ceiling Crack Repair Process
A ceiling crack that disappears after painting requires the right substrate work — not just filler. Here is the sequence TAV uses on every repair.
Prep the Crack for Maximum Mud Adhesion
A crack that is simply filled without preparation will fail again. The first step is to widen the crack slightly using a utility knife or painter's 5-in-1 tool — this creates a V-groove profile that lets compound penetrate and key into the substrate rather than sitting on top. Loose debris, chalky paint, and any soft edges are removed entirely before any mud touches the surface.
If the crack shows any separation of the drywall panel from the framing — a condition where the board flexes when you press along the crack — a drywall screw is driven through the board into the joist above to re-anchor it before taping begins. Skipping this step means the crack returns as soon as the board moves again.
Mesh vs. Paper Tape: Choosing the Right Material
For ceiling repairs in North Mississippi, paper tape is generally the better choice over fiberglass mesh. Paper tape, when properly embedded in a thin coat of all-purpose compound, creates a stronger, more flexible bond that handles the seasonal movement of a ceiling better than mesh. Mesh tape has its place — it is faster to apply and excellent for flat wall patches — but it requires a setting-type compound (not all-purpose) to prevent cracking over time.
The tape is embedded in the first thin coat of mud, pressed firmly into the compound with a 6-inch knife, and smoothed until the tape surface is level. Air bubbles beneath the tape are worked out immediately — any bubble left to dry becomes a high spot that shows through the finish coat.
Feathering for an Invisible Patch
The difference between a patch that shows and one that disappears is feathering. After the tape coat dries (minimum 24 hours in North Mississippi's humidity — longer if the room is poorly ventilated), a second coat of all-purpose compound is applied with a 10- or 12-inch knife, extending 6–8 inches beyond the tape on each side. This blends the raised repair area into the flat surrounding ceiling.
A third finishing coat with a 12-inch knife extends even wider, creating the gradual slope that makes the patch invisible to a light raked across the ceiling. Rushing between coats — a common DIY mistake — introduces moisture from fresh mud before the previous coat has cured, causing the surface to check and crack.
Sanding, Priming, and Texture Matching
Once the finish coat is fully dry, fine sanding with 120-grit paper levels any tool marks and ridges. Ceiling repairs require sanding by hand or with a pole sander — orbital sanders remove too much material and can cut through the tape layer. The goal is a surface that feels continuous with the surrounding ceiling, not perfect smoothness.
Priming before painting is not optional. Fresh joint compound is extremely porous — painting directly over it without primer causes the paint to absorb unevenly, creating a visible sheen difference called flashing. A coat of PVA drywall primer seals the compound, equalizes absorption, and ensures the topcoat matches the surrounding ceiling. If the existing ceiling has texture — orange peel, skip trowel, or knockdown — the texture must be matched before priming to avoid a visible smooth island in a textured field.
When to DIY vs. When to Call TAV Construction
Reasonable DIY if you have time and patience:
- Single hairline crack along a seam
- Isolated nail pops (3 or fewer)
- Small patches under 4 inches in any direction
- Existing texture is flat or lightly sanded
Call a professional when:
- Crack is wider than 1/8 inch or actively growing
- Any water staining, soft spots, or sagging present
- Texture matching is required (popcorn, knockdown)
- Multiple cracks across an entire ceiling
Related guide from TAV Construction:
Want a paint-ready finish that eliminates every texture imperfection? Level 4 vs. Level 5 Drywall Finish: Which Does Your Project Need? →
Drywall and Ceiling Repair Work by TAV Construction
Ceiling crack repairs, patch work, and full drywall finishing across Oxford and Lafayette County.
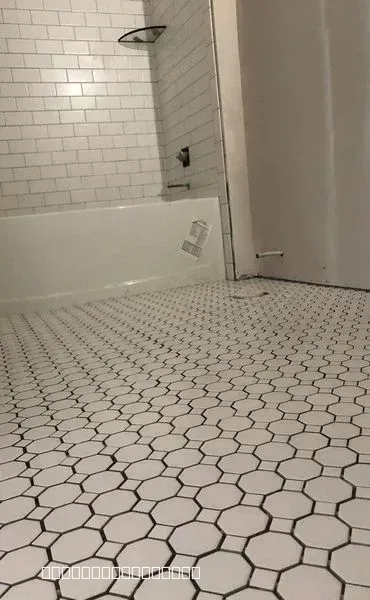
New Bathroom Tile Installation and Remodel
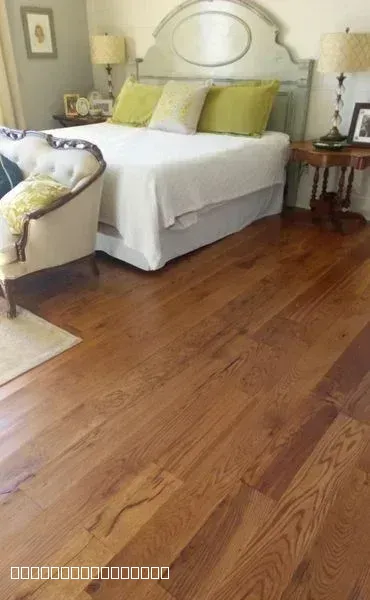
Beautiful Hardwood Flooring Installation in Bedroom
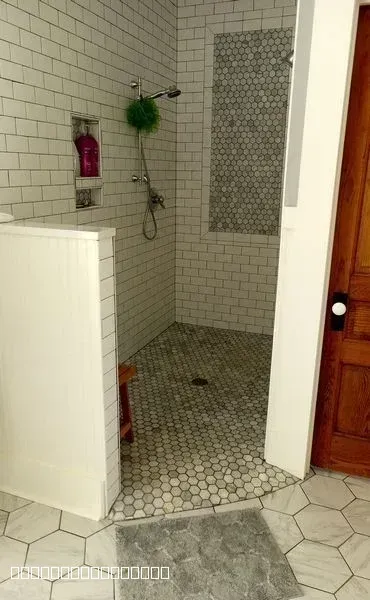
Modern Walk-In Shower With Subway Tile
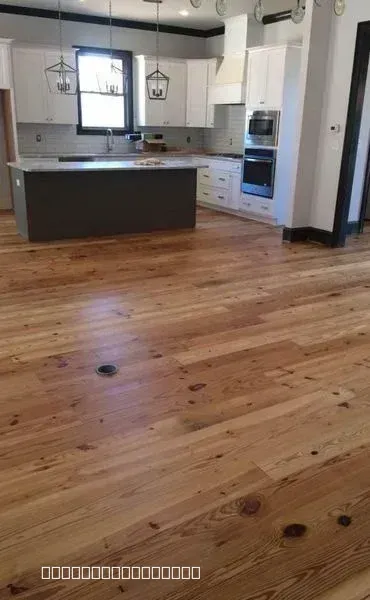
Modern Kitchen with New Hardwood Flooring
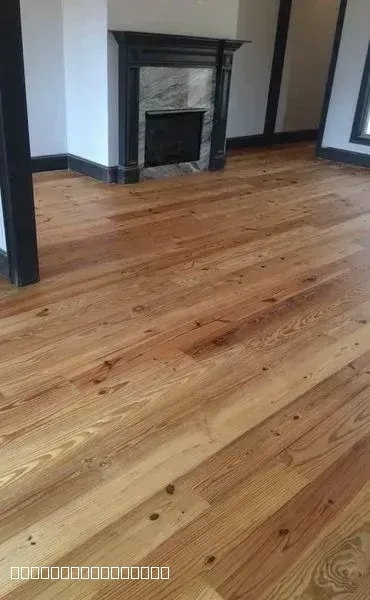
Beautiful Hardwood Flooring Installation with Fireplace
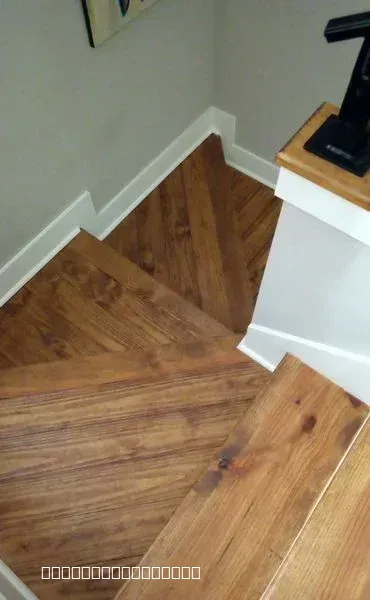
Custom Hardwood Staircase Flooring Installation Project
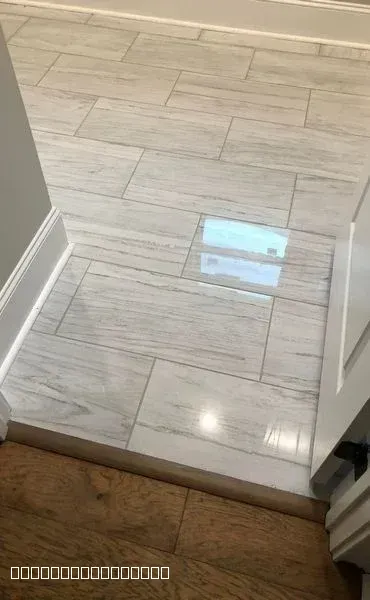
Professional Tile Installation in Modern Home
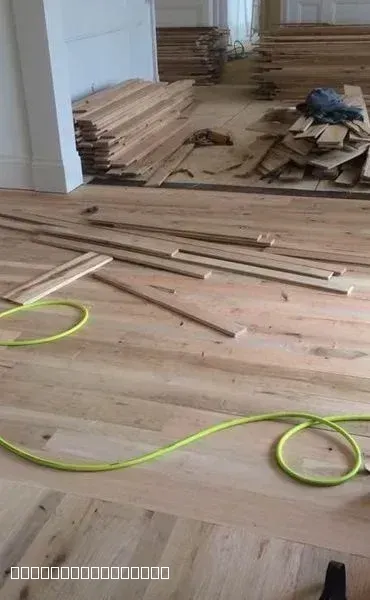
Hardwood Flooring Installation in Progress by TAV Construction
Rustic Hardwood Flooring Installation in Modern Home
What Oxford Homeowners Say
Real reviews from drywall repair and interior finishing projects across North Mississippi.
"My experience with TAV Construction was great. Gavin the brick layer does excellent work. He's good at what he does. I would recommend him to anyone who's looking for someone who's dedicated to doing his job. My hat goes off to him..."
Reginald Nicholson
2026-04-17
"Glevin is a kind and generous human being - and from there, his talent flows. I've worked with him multiple times, hiring him to install tile, flooring - anything where finish counts. He is dependable, reasonable, thoughtful and considerate. A true professional."
Matthew Hackworth
2026-03-12
Ceiling Crack Repair FAQs
Common questions from Oxford homeowners dealing with ceiling cracks, nail pops, and drywall damage.
1Why is my ceiling cracking?
Most ceiling cracks in North Mississippi come from three sources: normal structural settling as a home finds its equilibrium over time, temperature and humidity fluctuations that cause wood framing to expand and contract with every season, and poor original joint taping where the drywall installer didn't properly embed tape or applied too thin a mud coat. Hairline cracks along seams are almost always cosmetic. Wide cracks or cracks that grow over time may signal framing or foundation movement and warrant a professional evaluation.
2How do you fix a large hole in a drywall ceiling?
Holes larger than 4 inches in a ceiling require a backer-supported patch. A piece of backer wood (typically 1×3 or 1×4) is inserted through the opening and screwed to the inside of the existing drywall on each side to create a solid anchor. A square drywall patch is then cut to fit, screwed to the backer and any accessible joists, taped at all seams, and finished with three coats of compound. Because gravity works against ceiling patches, proper screw spacing and a rigid backer are critical — an unsupported patch sags or cracks through the tape within a season.
3Is a ceiling crack a sign of structural failure?
Usually not — but the crack pattern tells you a lot. Hairline cracks under 1/16 inch that run along drywall seams or parallel to joists are cosmetic settling cracks. Cracks wider than 1/8 inch, diagonal cracks that cut across multiple drywall panels, or cracks accompanied by sagging, bowing, or doors that have stopped latching are warning signs of framing or foundation movement. When in doubt, have a contractor assess before doing any cosmetic repair — covering a structural crack with compound just delays the problem.
4Can I use regular spackle for ceiling cracks?
Spackle is designed for small nail holes and minor dings — it shrinks as it dries and doesn't bond well to joint tape, making it a poor choice for ceiling cracks. All-purpose joint compound is the correct material: it's formulated to work with tape, sands cleanly, and can be feathered over a wide area. For deep repairs or situations where you can't wait for drying time, setting-type compound (powder you mix with water) hardens through a chemical reaction rather than evaporation, making it more durable and faster for first coats.
5How much does professional ceiling repair cost in Oxford, MS?
Minor patch repairs — a single crack or isolated nail pop cluster — typically start in the $150–$300 range depending on prep work and whether texture matching is required. Full ceiling repairs involving multiple cracks, water damage remediation, or complete texture re-application across a room are priced by square footage and complexity. TAV Construction provides free on-site estimates in Oxford and Lafayette County so you get an exact number before any commitment.
6How do I fix nail pops in my ceiling?
The correct fix has three steps: drive a new drywall screw 2 inches from the popped fastener to re-anchor the drywall panel to the framing, then dimple the old nail or screw slightly below the surface with a hammer so it doesn't create a high spot, and finally apply two finishing coats of all-purpose joint compound over both indentations, feathering out a few inches in each direction. Spackling over the bump without resetting the fastener is why nail pops reappear — the drywall is still loose, so the fastener keeps migrating toward the surface.
7How long does it take for ceiling mud to dry?
In North Mississippi's summer humidity, plan on a minimum of 24 hours between coats — longer in poorly ventilated rooms or during high-humidity weather. All-purpose compound dries by evaporation, so high ambient moisture slows the process significantly. Setting-type compound is the exception: it hardens in 20–90 minutes depending on the mix ratio, making it useful for first coats when you need to accelerate the schedule. Never apply a finish coat over mud that still shows any gray or translucent patches — those spots haven't fully cured and will crack under the next layer.
8Do I need to prime before painting the repair?
Yes — priming is not optional on drywall repairs. Fresh joint compound is extremely porous and absorbs paint unevenly, causing a sheen difference called flashing where the repair area looks dull or different from the surrounding ceiling even after two coats of paint. A single coat of PVA drywall primer seals the compound, equalizes absorption across the repair and the surrounding surface, and lets your topcoat lay uniformly. Skipping primer to save time almost always means a second paint trip to correct the flashing.
Still have questions?
We're here to help you find the answers.
Serving Oxford, Lafayette County & Surrounding Communities
Conveniently located for Oxford and North Mississippi customers
Hours
Monday - Friday: 9am - 6pm
Saturday: 9am - 5pm
Sunday: Closed
Get a Free Ceiling Repair Estimate
We'll assess the crack type, check for underlying moisture or structural issues, and give you a clear price before any work begins.