
Level 4 vs. Level 5 Drywall Finish: What's Best for Your Home?
Not all drywall finishes are created equal. Learn which level is right for your Oxford, MS home — and when the upgrade to Level 5 is genuinely worth it.
Most homeowners don't think about drywall finish levels until a contractor mentions it — and by then, the bid is already written. Understanding the difference between a Level 4 and Level 5 finish before the work starts helps you make smarter decisions about where to invest and where the standard is genuinely sufficient.
TAV Construction finishes drywall across Oxford, Water Valley, and Lafayette County. This guide explains what each level actually means, what it costs, and which one belongs in which room of your home.
Understanding the 5 Levels of Drywall Finishing
The Gypsum Association defines six finish levels (0–5). Here's what each one means for your walls — and your budget.
| Level | What's Applied | Typical Use | Paint-Ready? |
|---|---|---|---|
| Level 0 | No finishing — bare board only. | Temporary construction, areas to be demolished | No |
| Level 1 | Tape embedded in compound, no finish coats. | Above ceilings, inside mechanical shafts | No |
| Level 2 | Tape plus one skim coat over tape and fasteners. | Garages, storage areas, utility rooms | No |
| Level 3 | Tape plus two finish coats. | Walls receiving heavy or skip-trowel texture | No |
| Level 4 | Tape, two finish coats, skim-sanded smooth. | Standard residential walls and ceilings — the most common finish | Yes |
| Level 5 | Level 4 plus a full skim coat over the entire surface. | High-gloss paint, raking light conditions, luxury interiors | Yes |
Levels 0–3: The Foundation Work
Levels 0 through 3 are not finish-ready for exposed residential walls. Level 0 is raw board with nothing applied. Level 1 embeds the tape but leaves fastener dimples and surface variation untouched. Level 2 adds one skim pass — enough for garages and storage areas where surface quality doesn't matter.
Level 3 is the transition point: tape plus two finish coats gives you a surface ready to receive medium or heavy texture — skip trowel, knockdown, or orange peel. Most texture-wall applications in North Mississippi are built on a Level 3 base. The texture itself becomes the finish, masking any remaining imperfections beneath it.
Why Lighting Determines Your Finish Level
The single most important variable in selecting a finish level isn't the paint sheen — it's the angle and intensity of the light hitting your walls. Raking light (light that travels nearly parallel to the wall surface) reveals every surface variation, joint shadow, and fastener dimple that flatter, diffuse light would hide completely.
Large windows, east- or west-facing rooms that catch low-angle morning or afternoon sun, and any room with wall-mounted accent lighting are all high-risk environments for Level 4 finishes under high-sheen paint. In these conditions, what reads as a smooth wall at noon becomes a road map of joint lines and board edges by 4 PM. Level 5 is built specifically to eliminate this problem.
When Is a Level 5 Finish Worth the Investment?
Level 5 isn't always necessary — but in certain rooms and conditions, skipping it shows in the final result.
High-Gloss and Dark Paint Finishes
Flat paint is forgiving — it scatters light rather than reflecting it, which means minor surface variations are absorbed rather than amplified. The moment you move to eggshell, satin, semi-gloss, or high-gloss, the reflective surface acts like a mirror for every inconsistency in the substrate underneath.
Deep, saturated colors behave similarly — dark navy or charcoal walls under even diffuse lighting will show joint edges on a Level 4 finish that a lighter color would hide. If your paint spec calls for anything above flat on a wall with good light exposure, a Level 5 skim coat is the correct foundation for it.
Large Windows and Accent Lighting
The most common complaint TAV receives about new construction drywall — from homeowners who've moved in and started furnishing — is joint shadowing visible in the morning sun or under sconce lighting. By that point, the drywall is painted and the issue requires a full re-finish to correct.
Rooms with floor-to-ceiling windows, wall-mounted reading lights, or LED strip lighting along the ceiling plane should be specified as Level 5 before the first coat of mud goes on. The cost difference between finishing to Level 4 and Level 5 at the time of installation is far lower than the cost to correct the problem after paint is applied.
The TAV "Interior Envelope" Standard
On TAV's higher-end interior remodels, we treat the drywall finish as part of what we call the Interior Envelope — the complete surface system that a room's paint, trim, and lighting will sit against. When a client is investing in custom cabinetry, luxury vinyl plank, or premium tile work, the wall finish behind it needs to hold the same standard.
In practice, this means Level 5 skim coating in master bedrooms, formal dining rooms, and primary living areas — and Level 4 in secondary bedrooms, laundry rooms, and utility spaces where the investment in finish quality isn't proportionate to how the room is used.
What Level 5 Actually Costs in North Mississippi
A full skim coat over a Level 4 base adds 30–50% to finishing labor for the affected area. On a 200 sq ft master bedroom finished to Level 4 at $2.00/sq ft, you're looking at $400 for the base finish. Upgrading that room to Level 5 typically adds $120–$200 in labor — a total premium of roughly $150–$200 for a room that will hold that paint quality for decades.
The calculation is straightforward: if you're spending $4,000–$8,000 on paint, flooring, and fixtures in a room, the $150–$200 delta for a Level 5 wall finish is a small percentage of the total budget and a large percentage of the final visual result. For high-use, high-visibility rooms with quality paint specifications, Level 5 almost always wins the cost-benefit analysis.
Considering a full bathroom remodel or room renovation?
Drywall finishing level is one of several cost variables in a full interior project. See how it fits into the bigger picture: 2024 Bathroom Remodel Cost Guide for North Mississippi →
Level 4 vs. Level 5: Side-by-Side
Use this quick-reference to guide the conversation with your contractor before the bid is written.
Level 4 — The Residential Standard
- ✓Tape embedded, two finish coats, skim-sanded
- ✓Paint-ready for flat and eggshell sheens
- ✓Suitable for rooms with diffuse or indirect lighting
- ✓Correct for secondary bedrooms, laundry, hallways
- ✓Most common finish in North Mississippi residential construction
Level 5 — The Luxury Standard
- ✓Level 4 base plus full skim coat over entire surface
- ✓Required for semi-gloss, satin, and high-gloss paint
- ✓Eliminates joint shadowing under raking or accent light
- ✓Correct for master suites, dining rooms, open-plan living areas
- ✓Adds 30–50% to finishing labor; often <5% of total room budget
TAV Construction — Interior Finishing Work
Drywall finishing, skim coating, and full interior envelope projects across Oxford and North Mississippi.
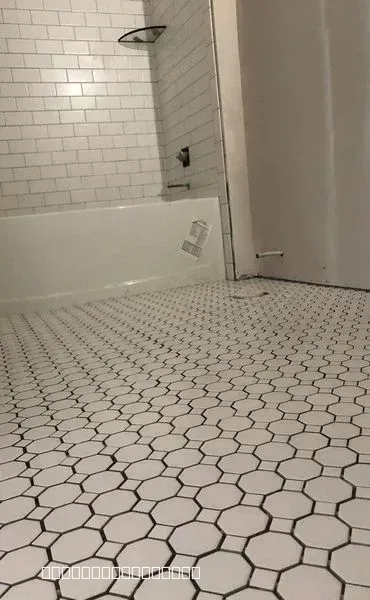
New Bathroom Tile Installation and Remodel
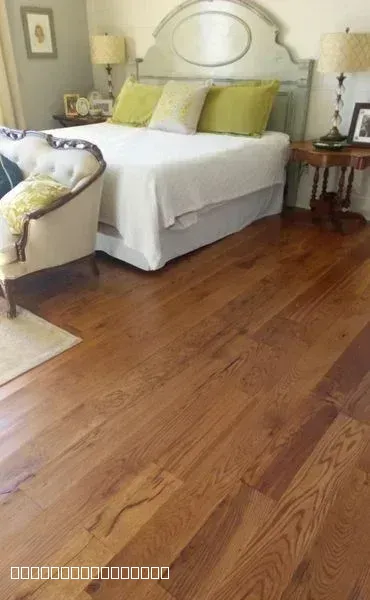
Beautiful Hardwood Flooring Installation in Bedroom
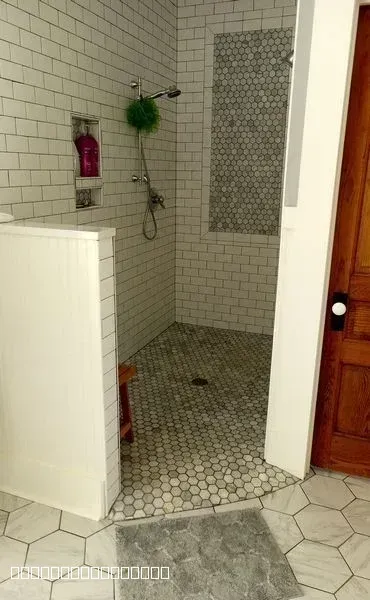
Modern Walk-In Shower With Subway Tile
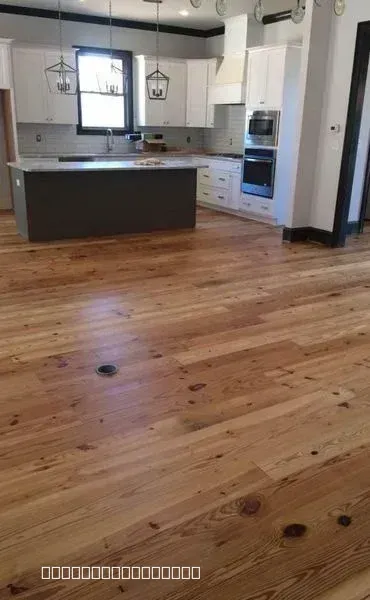
Modern Kitchen with New Hardwood Flooring
Beautiful Hardwood Flooring Installation with Fireplace
Custom Hardwood Staircase Flooring Installation Project
Professional Tile Installation in Modern Home
Hardwood Flooring Installation in Progress by TAV Construction
Rustic Hardwood Flooring Installation in Modern Home
What Oxford Homeowners Say
Real reviews from Lafayette County drywall and interior finishing projects.
"My experience with TAV Construction was great. Gavin the brick layer does excellent work. He's good at what he does. I would recommend him to anyone who's looking for someone who's dedicated to doing his job. My hat goes off to him..."
Reginald Nicholson
2026-04-17
"Glevin is a kind and generous human being - and from there, his talent flows. I've worked with him multiple times, hiring him to install tile, flooring - anything where finish counts. He is dependable, reasonable, thoughtful and considerate. A true professional."
Matthew Hackworth
2026-03-12
Drywall Finish Level FAQs
Common questions from Oxford homeowners planning interior renovations and new construction.
1What is a Level 5 drywall finish?
A Level 5 finish starts with a standard Level 4 base — tape embedded in compound, two finish coats, sanded smooth — and then adds a full skim coat of joint compound spread thinly over the entire wall surface. That final coat fills in the slight texture difference between the paper face of the drywall board and the dried compound at joints and fasteners. The result is a perfectly uniform, flat surface with no substrate variation visible under any lighting condition. It's the correct foundation for high-gloss, satin, or dark paint finishes where the slightest surface irregularity would be amplified by the reflective sheen.
2Is Level 5 drywall worth it?
It depends on the room's paint specification and lighting conditions. If the walls will be painted in flat or matte finish and the room receives only diffuse, overhead light, Level 4 is entirely sufficient — and the extra cost of Level 5 doesn't return a visible benefit. But if your paint spec calls for eggshell or above, or the room has large windows, sconce lighting, or LED strips along the ceiling plane, Level 5 is worth every dollar. The skim coat adds roughly 30–50% to finishing labor for the affected area, which on a typical master bedroom translates to $150–$200 more. That delta is small compared to the cost of repainting after joint shadowing appears.
3What is the difference between Level 4 and Level 5?
The difference is one layer: a full skim coat applied over the entire surface after the Level 4 work is complete. At Level 4, the paper face of the drywall board and the dried joint compound have slightly different textures — normally invisible under flat paint and diffuse light, but detectable under raking light or reflective sheens. The skim coat at Level 5 buries that paper texture under a thin, continuous film of compound, creating a single uniform surface from corner to corner. Under critical lighting — low-angle sun, accent fixtures, or glossy paint — the difference between Level 4 and Level 5 is clearly visible to the naked eye.
4How much more does Level 5 cost than Level 4?
Expect Level 5 to add 30–50% to finishing labor for the rooms being upgraded. The extra cost is almost entirely labor — the skim coat material itself is inexpensive, but the application, drying time, and sanding add meaningful hours to the project. On a 200 sq ft room finished at roughly $2.00/sq ft for a Level 4 base, the Level 5 upgrade typically adds $120–$200 in labor. Larger open-plan spaces cost proportionally more. TAV prices Level 5 on a per-room basis during the estimating phase, so you know exactly what the upgrade costs before any mud goes on the wall.
5Can you do Level 5 over existing textured walls?
Yes, but it requires more preparation than new construction. Existing texture — orange peel, knockdown, or skip trowel — needs to be knocked down by sanding or skim coating before the final Level 5 surface is achievable. In restoration or remodel scenarios, TAV typically applies one or two bridging coats to flatten the texture first, sands between coats, then applies the true Level 5 skim. Total coat count is higher than in new construction, which means more drying days and more labor. It's a legitimate upgrade path for Oxford homes being modernized away from heavy texture finishes, but budget accordingly — it's closer to a full re-finish than a simple add-on.
6Do I need Level 5 for eggshell paint?
Usually not, but it's the threshold where it starts to matter. Eggshell has a low sheen — enough to be washable, but not enough to aggressively reflect imperfections the way satin or semi-gloss does. In rooms with typical residential lighting, a clean Level 4 finish holds up fine under eggshell. Where the question becomes more important is when the room also has large windows or directional accent lighting. In those conditions, eggshell can reveal joint shadowing on a Level 4 surface. When in doubt on a high-visibility room — master bedroom, formal living area — the Level 5 upgrade is a low-cost insurance policy against a result that reads as uneven once the room is furnished and lit.
7How long does it take to apply a Level 5 finish?
A Level 5 finish adds at least one to two additional days to the drywall schedule compared to Level 4. The skim coat itself applies relatively quickly, but it must dry completely — typically overnight — before sanding. After sanding, the surface is inspected for holidays (missed spots or thin areas), touched up, and re-sanded if needed before primer goes on. On a full-house project, expect Level 5 to extend the drywall phase by two to four days depending on room count and ambient drying conditions. TAV builds this into the project schedule during estimating so downstream trades — painters, flooring — aren't pushed by a compressed finishing timeline.
8What is a 'Paint-Ready' drywall finish?
TAV's 'Paint-Ready' standard means the drywall is inspected, primed, and handed off to painters with no additional surface prep required. Joints are fully feathered, fasteners are countersunk and covered, corners are straight, and the primer coat is applied and dry. The painter can start work immediately without skim-sanding, spot-coating, or correcting finish issues. TAV offers Paint-Ready as the deliverable on both Level 4 and Level 5 scopes — the finish level determines the surface quality; Paint-Ready means that finish is complete, primed, and inspected before the handoff.
Still have questions?
We're here to help you find the answers.
Get a Straight Quote on Your Drywall Finishing Project
Tell us the rooms, the paint spec, and the lighting conditions — and we'll recommend the right finish level and give you a written estimate.