
Professional Tile Installation Process: What to Expect from TAV
TAV Construction follows a meticulous, trade-proven process — from substrate inspection to the final grout seal. Here's exactly what happens on your job site.
Tile installation looks straightforward from the finished side, but the quality of your floor or shower wall is determined almost entirely by what happens before the first tile touches the surface. At TAV Construction, every project follows a documented process built around industry standards — not shortcuts. This guide walks you through our professional tile installation process so you know what to expect from consultation through final inspection.
Step 1: Substrate Preparation and Waterproofing
The single most common cause of tile failure — cracked grout, loose tiles, lippage — is an inadequate substrate. Before a single tile is set, our crew inspects and prepares the surface to meet or exceed the deflection tolerances required by the Tile Council of North America (TCNA).
- → Cement board or Schluter membranes — not bare plywood.
Plywood expands and contracts with humidity. Cement board (Hardiebacker, Durock) and uncoupling membranes (Schluter DITRA) decouple tile from subfloor movement, preventing stress fractures in your grout lines over time.
- → Deflection testing for large-format tile.
12×24 and larger tiles are unforgiving. A floor that flexes more than L/360 under load will crack grout within months. We test joist spacing and span, adding blocking or sister joists where necessary before any tile goes down.
- → Waterproofing in wet areas.
Shower pans, curbs, and niche walls receive a full waterproofing membrane — either sheet membrane or liquid-applied Redgard — before tile begins. We flood-test every shower pan before tiling. No exceptions.
TAV standard: All wet-area substrates are waterproofed and flood-tested before tile is set. Dry areas receive cement board screw-fastened at 6″ perimeter / 8″ field spacing per TCNA F144 guidelines.
The Setting Phase: Layout, Thinset, and Leveling
Once the substrate passes inspection, the setting phase begins. This is where pattern, coverage, and flatness are established — and where cheap installs typically cut corners. TAV's process prioritizes long-term performance over speed.
- → Dry-layout for pattern approval.
Before any thinset is mixed, we dry-lay tiles in the planned pattern — Herringbone, Brick Offset, Grid, or custom — so you can walk the layout and approve it. Cuts at doorways and focal walls are planned to avoid slivers below a half-tile.
- → Back-buttering for 100% thinset coverage.
TCNA requires 80% thinset coverage in dry areas and 95% in wet areas. We back-butter every large-format tile in addition to combing the substrate. Voids beneath tile trap moisture and create hollow spots that crack under load.
- → Lippage control systems.
We use clip-and-wedge leveling spacers on all large-format and rectified tile. Lippage — the vertical offset between adjacent tile edges — is virtually eliminated. The result is a flat, professional finish with consistent joint width throughout.
TAV standard: Thinset cure time is observed before grouting — minimum 24 hours for polymer-modified thinset in conditioned space, longer in humidity or cold. We do not rush the cure.
Grouting, Sealing, and Final Inspection
Grout selection and application are the last line of defense for a tile installation. The wrong grout or a rushed application leads to staining, cracking, and premature failure. TAV specifies grout based on joint width, traffic load, and exposure to moisture.
Sanded Grout
Joints 1/8″ and wider. Floors, entryways, and field tile with standard spacing.
Unsanded / Fine Grout
Joints under 1/8″. Polished stone, glass tile, and rectified porcelain with tight joints.
Epoxy Grout
Commercial kitchens, wet showers, and anywhere stain resistance is critical. Highest durability.
After grouting, all cementitious grout joints are cleaned and — where specified — sealed with a penetrating sealer to resist moisture and staining. Natural stone surfaces receive a full stone sealer application. Before we leave the job site, we walk the completed installation with you, checking for any lippage, hollow tiles, cracked grout, or inconsistent joint width.
You'll receive care instructions for your specific tile type and grout product, including recommended cure time before foot traffic and any sealer reapplication schedule.
Typical Project Timelines
2–3 days
Bathroom Floor
5–7 days
Custom Shower
1–2 days
Kitchen Backsplash
7–14 days
Full Bathroom Remodel
TAV Tile Work — Recent Projects
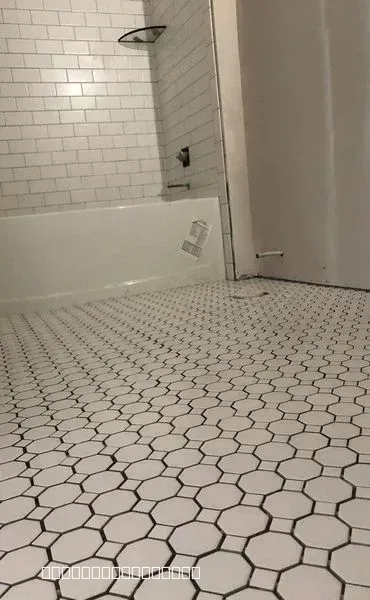
New Bathroom Tile Installation and Remodel
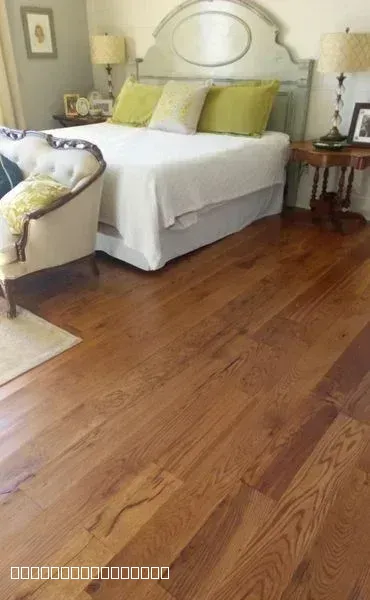
Beautiful Hardwood Flooring Installation in Bedroom
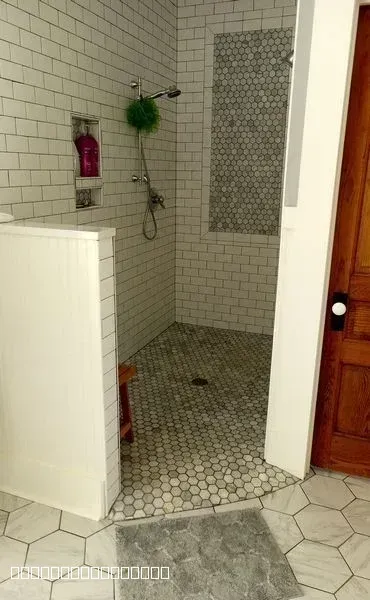
Modern Walk-In Shower With Subway Tile
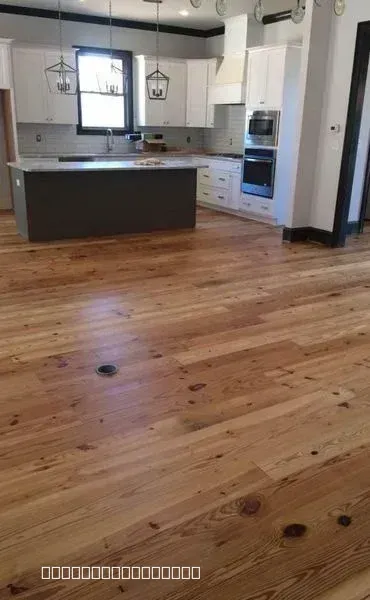
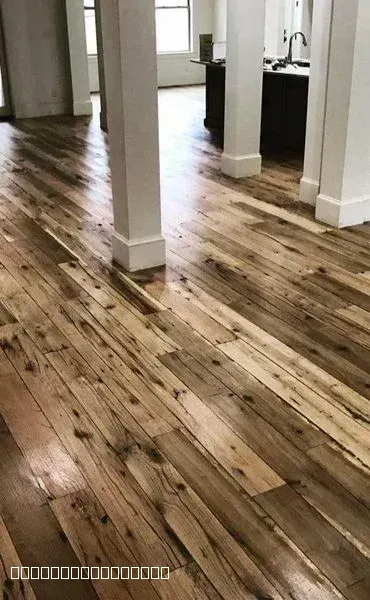
Modern Kitchen with New Hardwood Flooring
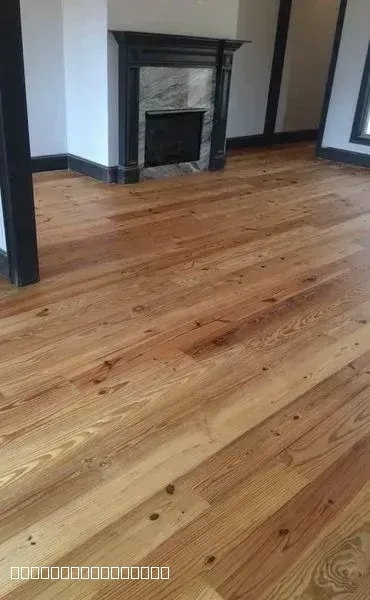
Beautiful Hardwood Flooring Installation with Fireplace
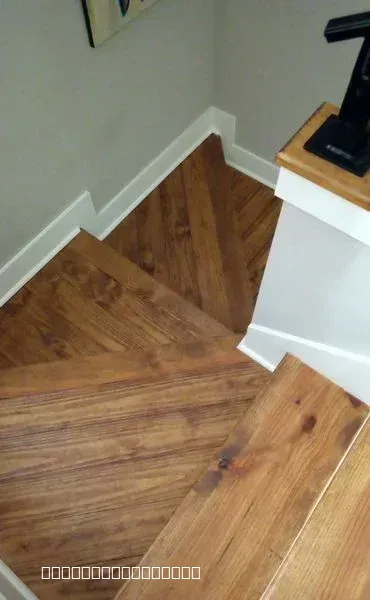
Custom Hardwood Staircase Flooring Installation Project
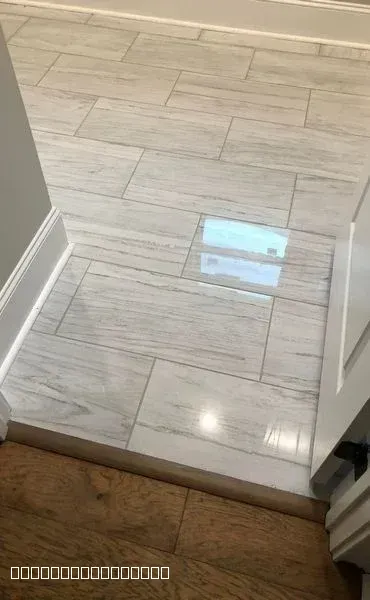
Professional Tile Installation in Modern Home
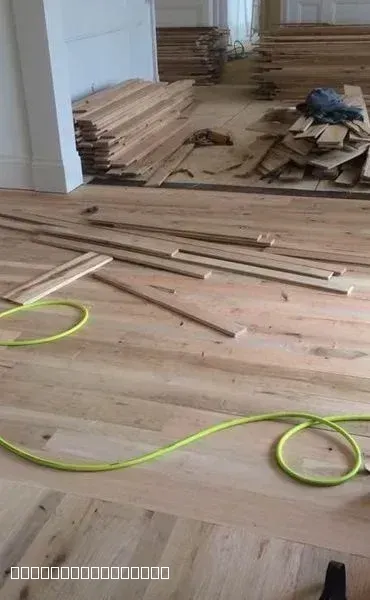
Hardwood Flooring Installation in Progress by TAV Construction
Rustic Hardwood Flooring Installation in Modern Home
What Our Clients Say
Homeowners across Oxford and the surrounding area trust TAV Construction for precision tile work.
"My experience with TAV Construction was great. Gavin the brick layer does excellent work. He's good at what he does. I would recommend him to anyone who's looking for someone who's dedicated to doing his job. My hat goes off to him..."
Reginald Nicholson
2026-04-17
"Glevin is a kind and generous human being - and from there, his talent flows. I've worked with him multiple times, hiring him to install tile, flooring - anything where finish counts. He is dependable, reasonable, thoughtful and considerate. A true professional."
Matthew Hackworth
2026-03-12
Tile Installation — Frequently Asked Questions
Answers to the most common questions we hear from homeowners before and during a tile project.
How long does tile installation take?
Average bathroom floor: 2-3 days Custom shower: 5-7 days including waterproofing
What is the first step in tiling a floor?
Demolition and subfloor inspection Ensuring the surface is clean, dry, and structurally sound
Can you walk on new tile immediately?
Wait at least 24 hours before walking Wait 48-72 hours before moving heavy furniture
Do I need to seal my new tile?
Natural stone must be sealed Porcelain doesn't need sealing, but grout often does
What is lippage in tile installation?
Vertical displacement between edges of adjacent tiles TAV uses leveling spacers to eliminate lippage
How much does professional tile installation cost in Oxford?
Labor typically ranges from $8 to $15 per square foot Complex patterns (herringbone) increase labor costs
Can tile be installed over old vinyl flooring?
Not recommended for long-term durability TAV prefers removing old flooring to inspect the subfloor
What is the best grout for a kitchen floor?
Stain-resistant epoxy or high-performance cementitious grout
Still have questions?
We're here to help you find the answers.
Ready to Start Your Tile Project?
Get a free, on-site estimate from TAV Construction. We'll assess your substrate, discuss your tile selection, and walk you through the full process before any work begins.