Professional Baseboard and Trim Installation in Oxford, MS
New flooring deserves a clean, finished edge. TAV Construction installs baseboard, shoe molding, and trim throughout Oxford and Lafayette County — completing your project the right way, down to every corner and coped joint.
The Finishing Touch: Why Quality Trim Matters
When new flooring goes in, it creates an expansion gap at every wall — a deliberate space that allows the floor to move seasonally without buckling. That gap has to be covered, and how it's covered is the difference between a job that looks finished and one that looks done. Baseboard and trim are where the craftsmanship shows. They're the last thing you see when you walk into a room, and the first thing that reveals whether the crew cared about the details.
Why New Flooring Requires Upgraded Trim
- Expansion gaps are unavoidable — every floating floor system — LVP, laminate, engineered wood — requires a gap of at least 1/4" around the perimeter. Existing baseboards are often too short to cover the new floor height plus this gap, making replacement or addition of shoe molding necessary.
- Height changes reveal mismatches — adding even 1/4" of flooring thickness raises the finished floor surface relative to the existing baseboard. Without new trim, the gap between the bottom of the baseboard and the new floor surface is visible and unsightly.
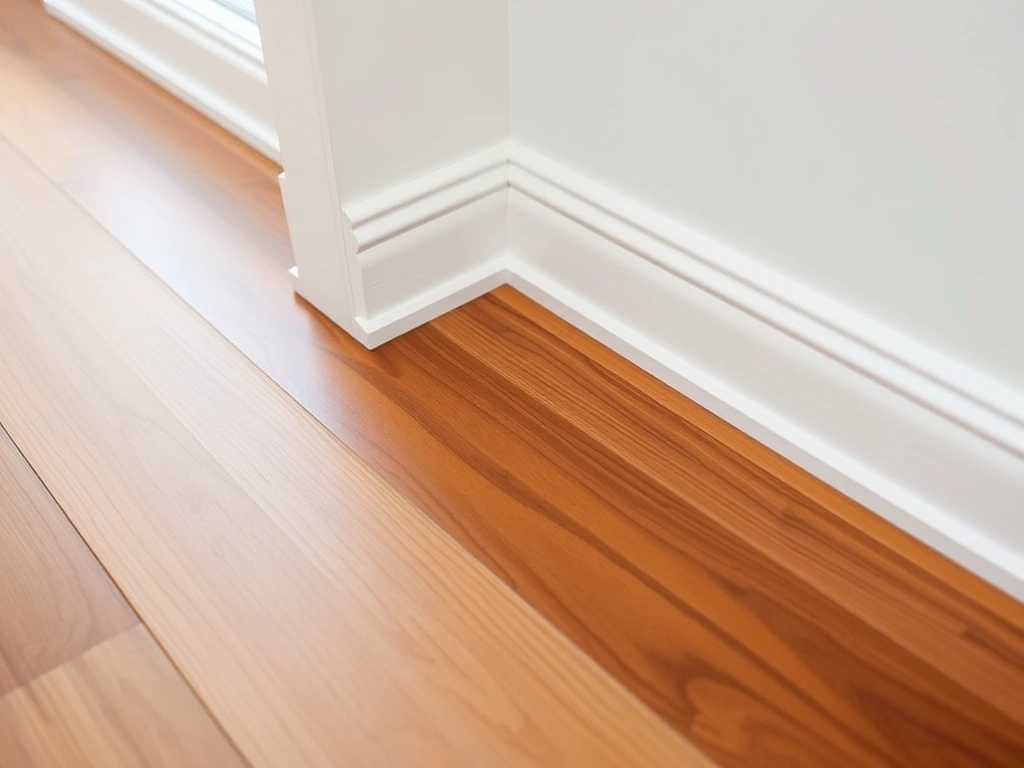
- Shoe molding bridges the gap cleanly — a thin strip of shoe molding or quarter round sits against the baseboard face and rests on the new floor surface, hiding the expansion gap without touching the flooring itself. Installed correctly, it moves with the wall, not the floor.
- Older trim often fails the comparison test — after a fresh floor installation, painted drywall scuffs, nail pops, and worn baseboard profiles stand out more than they did before. Many clients choose to replace trim as part of the flooring project rather than drawing attention to the contrast.
Shoe Molding vs. Quarter Round: Choosing the Right Profile
- Shoe molding is a slender, slightly curved profile — typically 1/2" wide and 3/4" tall. It sits flatter against the baseboard face and is more decorative in appearance. It's the preferred choice in most residential Oxford interiors where the gap is modest and the look needs to be refined.
- Quarter round is exactly what the name suggests — a perfect 90-degree curve that covers larger or less consistent gaps. It's a practical choice where subfloor irregularities create varying gaps along the wall, or where a more substantial visual presence is acceptable.
- Material finish must match — in painted interiors, both profiles are typically painted to match the baseboard. In hardwood or stained trim environments, we can source wood-finish shoe molding that coordinates with existing profiles without looking like an afterthought.
- TAV Construction recommends shoe molding as the default for most Oxford homes — it reads as intentional trim rather than a gap cover, and it's available in MDF, pine, and hardwood profiles to match any interior style.
Material Options: MDF, Pine, and Hardwood
- MDF (Medium-Density Fiberboard) — the most cost-effective option for painted trim. MDF holds a sharp, factory-smooth edge that accepts paint beautifully, it doesn't expand or contract with humidity the way solid wood does, and it's available in the widest range of profiles. The trade-off is that it doesn't handle direct moisture exposure well — not ideal for bathrooms or laundry rooms.
- Finger-jointed or clear pine — a solid wood option that paints well, holds nails firmly, and has more moisture resistance than MDF. Pine is the traditional choice for painted millwork in Southern homes and handles Mississippi's humidity meaningfully better than composite materials near wet areas.
- Hardwood (poplar, oak, or species-matched) — for stained or natural-finish trim, hardwood is the correct material. We can match existing trim species in older Lafayette County homes and source profiles that replicate original millwork without requiring custom milling.
Where the Finish Counts
Oxford homeowners who've worked with TAV Construction consistently mention finish quality in their reviews — and trim installation is where that reputation is earned or lost. Poorly mitered outside corners, coped joints that gap at the return, nail holes that weren't filled before painting, baseboard that's nailed to the flooring instead of the wall — these are the details that separate a trade contractor from a finish carpenter.
We treat every trim installation as finish work, not rough carpentry. That means taking the time to measure each piece individually, cutting joints correctly for the material and profile, and leaving surfaces that are ready for paint without a second visit.
Our Precision Installation Process
Trim installation looks straightforward until you encounter an out-of-plumb wall, an outside corner that's 92 degrees, or a room where no two walls meet at a true right angle — which describes most homes in Lafayette County built before 1990. Our process is built around those realities, not the idealized conditions that look good on paper.
Step 1 & 2: Measurement, Profile Selection, and Cutting
- Room-by-room measurement — we measure each wall individually and account for inside corners, outside corners, door openings, and window casings before cutting any material. Running lengths are calculated with waste factored in to avoid short pieces or unnecessary seams.
- Profile coordination — before cutting, we verify that the selected profile coordinates with existing door and window casing heights, base cap details, and any crown molding that will be added in the same room. Mismatched reveal heights are corrected at this stage, not after installation.
- Precision miter cuts for outside corners — outside corners require compound miter cuts that split the corner angle evenly between two pieces. In older homes where corners are not a true 45 degrees, we use a digital angle finder and cut both pieces to match the actual angle — not assume 45.
- Coped joints for inside corners — inside corners are coped, not mitered. A coped joint cuts the profile of the first piece into the end of the second piece, creating a tight fit that stays closed as the wall moves seasonally. Mitered inside corners open up — coped joints don't.
Step 3 & 4: Fastening, Filling, and Paint Prep
- Wall-nailing, not floor-nailing — baseboard is fastened to the wall studs and bottom plate, never to the flooring. This is critical for floating floors — trim that's nailed to a floating floor will restrict movement and cause buckling or squeaking within months.
- Nail countersinking — finish nails are driven below the surface of the trim with a nail set so that wood filler or spackling compound can be applied flush. Nails left proud of the surface create bumps that show through paint and telegraph through years of repainting.
- Caulking the wall-to-trim joint — the top edge of baseboard is caulked against the drywall to close any gap caused by wall imperfections and to create a sealed line for paint. This is one of the most frequently skipped steps by other crews — and one of the most visible when it's missing.
- Wood filling and surface prep — nail holes are filled with paintable wood filler, sanded flush, and wiped clean. When we hand off trim work ahead of a paint crew, every surface is ready to prime without additional prep. We do not leave that work to the painter.
The full process — measure, select, cut, fasten, fill, and caulk — typically completes in one to two days for a standard Oxford home. Larger or more complex projects with crown molding, wainscoting, or custom profiles take longer, and we'll give you an accurate timeline during the estimate so your paint schedule isn't disrupted.
If your flooring project is already underway or recently completed, we can come in specifically to handle the trim phase. And if you're planning a flooring installation, we recommend scheduling trim work in the same project window — it's more efficient, one crew knows the full scope, and we can coordinate the floor-to-trim transition correctly from the start. Contact us to schedule a trim installation estimate.
Beyond Baseboard: Interior Trim Finishing Services
Baseboard and shoe molding are the foundation of interior trim work, but a fully finished room often calls for more. TAV Construction handles the complete interior millwork scope for Oxford and Lafayette County homes.
Crown Molding Installation
Crown molding is the most technically demanding interior trim application — it requires compound angle cuts that account for both the wall angle and the ceiling angle simultaneously. We install crown molding as part of our interior finishing package, coordinating the profile selection and reveal heights with your existing or new baseboard so the room reads as a cohesive design.
- Standard flat-ceiling and vaulted-ceiling applications
- Profile matching for historic Oxford and University Avenue area homes
- Built-up crown assemblies for large-scale interior spaces
Door Casing and Window Trim
When flooring is replaced, door casing is often undercut to accommodate the new floor height. We handle door jamb undercutting as part of flooring installation and can replace or upgrade casing profiles to coordinate with new baseboard — eliminating the mismatched trim look that's common when floor and trim work are handled by separate crews on separate schedules.
- Door casing replacement and profile matching
- Window stool, apron, and jamb extension installation
- Coordinated paint-prep finish across all millwork in the same visit
Matching Trim in Historic Oxford Homes
Many Lafayette County homes — particularly in the older neighborhoods around the University of Mississippi campus and downtown Oxford — feature wider baseboard profiles, built-up base assemblies, or custom millwork details that aren't available at big-box home improvement stores. We source profiles through specialty millwork suppliers and can replicate or coordinate with existing trim without requiring full replacement of period details. If you're unsure whether your trim can be matched, bring us a sample or a photo during the estimate and we'll identify your options.
Trim and Finishing Work in Oxford & Lafayette County
Recent baseboard, shoe molding, crown, and interior trim installations completed by TAV Construction throughout North Mississippi.
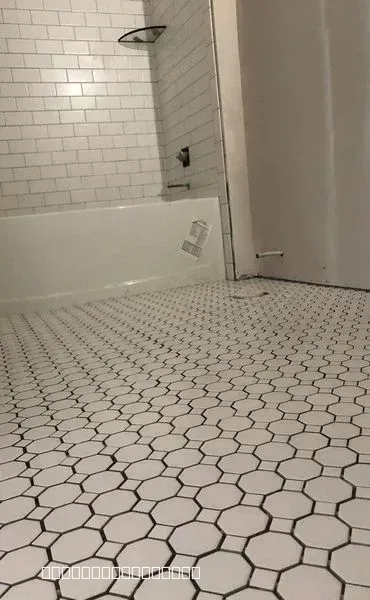
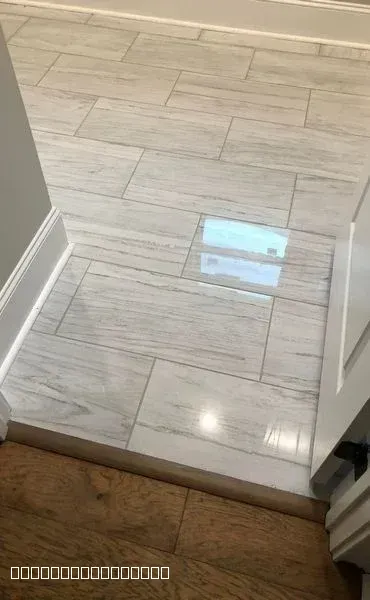
New Bathroom Tile Installation and Remodel
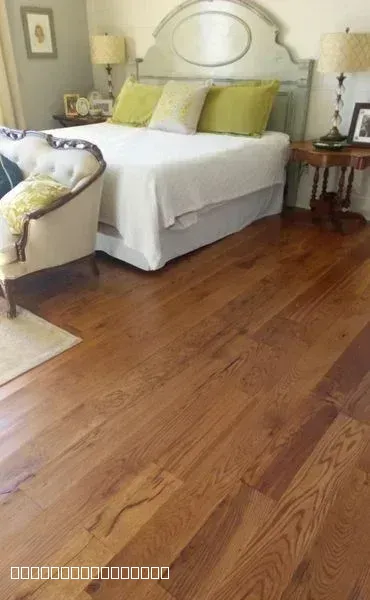
Beautiful Hardwood Flooring Installation in Bedroom
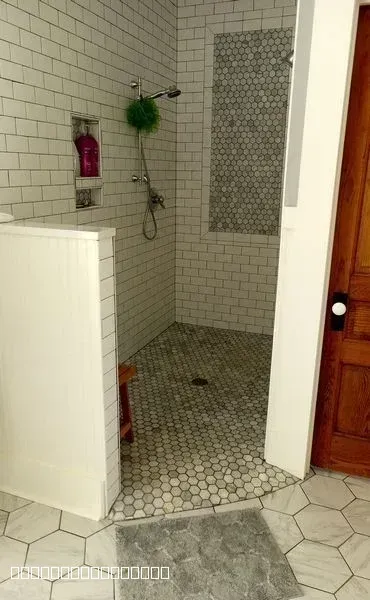
Modern Walk-In Shower With Subway Tile
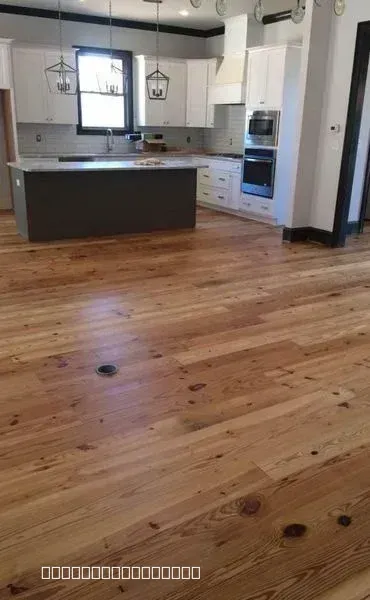
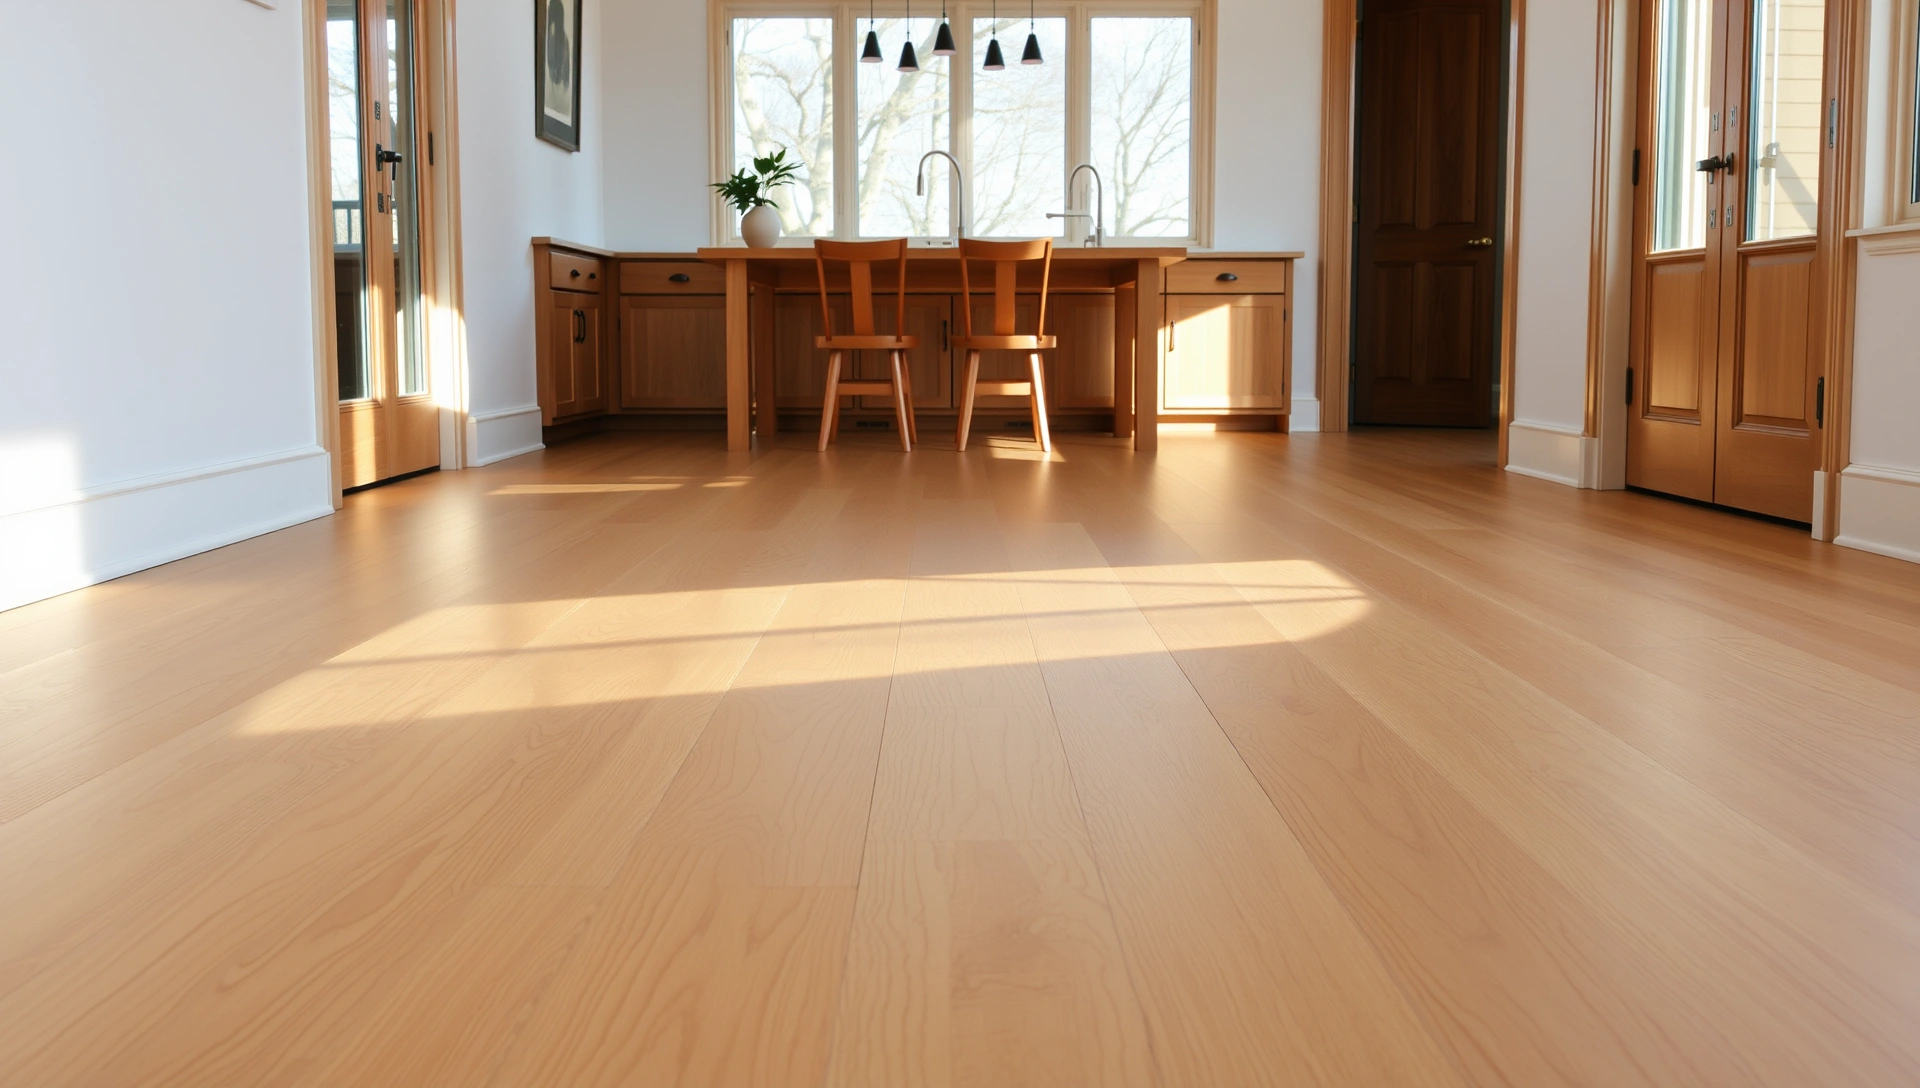
Modern Kitchen with New Hardwood Flooring
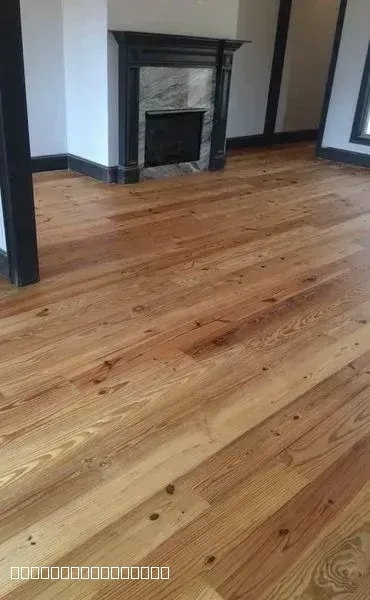
Beautiful Hardwood Flooring Installation with Fireplace
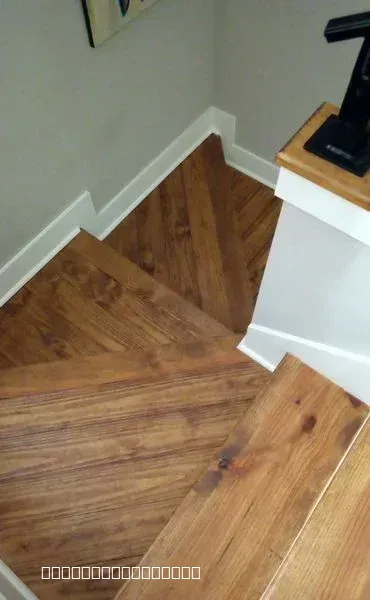
Custom Hardwood Staircase Flooring Installation Project
Professional Tile Installation in Modern Home
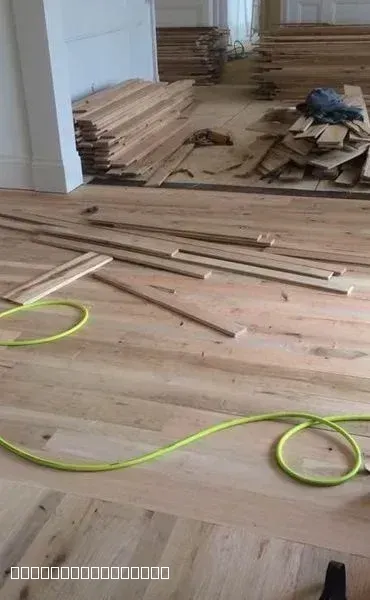
Hardwood Flooring Installation in Progress by TAV Construction
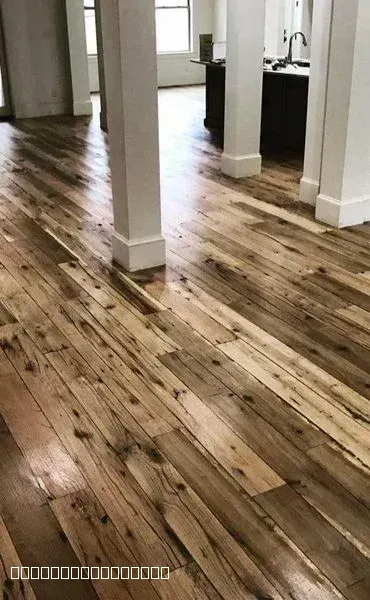
Rustic Hardwood Flooring Installation in Modern Home
What Oxford Homeowners Say About Our Finish Work
Real feedback from Lafayette County clients on TAV Construction's attention to detail and trim craftsmanship.
"My experience with TAV Construction was great. Gavin the brick layer does excellent work. He's good at what he does. I would recommend him to anyone who's looking for someone who's dedicated to doing his job. My hat goes off to him..."
Reginald Nicholson
2026-04-17
"Glevin is a kind and generous human being - and from there, his talent flows. I've worked with him multiple times, hiring him to install tile, flooring - anything where finish counts. He is dependable, reasonable, thoughtful and considerate. A true professional."
Matthew Hackworth
2026-03-12
Complete Flooring and Finishing from One Crew
Trim installation is the final phase of a flooring project — but the whole project goes smoother when the same crew handles it from subfloor to baseboard. TAV Construction manages the full scope so there's no handoff gap and no finish inconsistencies between phases.
Luxury Vinyl Plank (LVP) Installation
Waterproof, scratch-resistant LVP and SPC flooring installed throughout Oxford and Lafayette County. We handle subfloor prep, layout, and fitting — then finish with coordinated baseboard and shoe molding.
Learn more →
Hardwood Floor Installation
Solid and engineered hardwood installation in Oxford homes. We coordinate trim species and stain to match your new hardwood, so the finished room looks designed rather than assembled from separate projects.
Learn more →
Drywall Repair & Patching
When baseboard comes off during flooring, wall damage often comes with it. We handle drywall repair and trim reinstallation in the same project window — eliminating the scheduling gap between trades.
Learn more →
Baseboard & Trim Installation — Frequently Asked Questions
Common questions from Oxford and Lafayette County homeowners about baseboard, shoe molding, and interior trim finishing.
1Should I install baseboards before or after flooring?
Always install after flooring to ensure the trim covers the expansion gap Protects the new floor from damage during trim install
2What is the average cost of baseboard installation in North Mississippi?
Pricing varies by linear foot and material type Labor typically ranges from $2 to $6 per linear foot depending on complexity
3What is the difference between shoe molding and quarter round?
Shoe molding is thinner and more decorative Quarter round is a perfect 90-degree curve used for larger gaps
4Do you provide paint-ready trim finishing?
Yes, we provide caulk and wood fill Integration with drywall repair for a seamless wall-to-floor transition
5Can you match existing trim in historic Oxford homes?
Specialized sourcing for wider or custom profiles common in older Lafayette County properties
6Is MDF or wood better for baseboards?
MDF is cost-effective and paint-smooth Wood is more durable and handles moisture better in Mississippi humidity
7How long does trim installation take?
Most homes can be completed in 1-2 days Pairs efficiently with flooring installation schedules
8Do you install crown molding as well?
Yes, as part of our interior finishing package
Still have questions?
We're here to help you find the answers.
Serving Oxford, Lafayette County & Surrounding Communities
Conveniently located for Oxford and Lafayette County, MS customers
Hours
Monday - Friday: 9am - 6pm
Saturday: 9am - 5pm
Sunday: Closed
Ready to Finish Your Flooring Project? Get a Trim Quote Today.
TAV Construction serves Oxford, Lafayette County, and surrounding North Mississippi communities. Whether you need shoe molding after a new floor installation or a full interior trim package, we'll give you a detailed quote with no pressure and no obligation.