Bathroom Floor Tile Installation in Oxford & Batesville
Porcelain, ceramic, hexagon, and large-format tile floors installed with precision leveling and mold-resistant grout — serving Oxford, Batesville, and North Mississippi.
A Floor That Looks Right and Performs for Decades
Bathroom floors take more abuse than any other tile surface in the home. Constant moisture, temperature swings, bare feet, and cleaning chemicals all conspire against a poorly installed floor. TAV Construction approaches every bathroom floor project the same way we approach shower work — substrate first, tile second. We assess the subfloor for deflection and flatness, correct any issues before the first tile goes down, and use installation systems that prevent lippage, cracking, and grout failure from day one.
We serve Oxford, Batesville, Corinth, New Albany, Tupelo, and the surrounding communities across North Mississippi. Whether you want a classic 12×12 porcelain floor, a modern large-format 12×24 layout, or an intricate hexagon mosaic pattern, our crew handles every step from demo to final grout seal.
What We Install
- 12×24 large-format porcelain and ceramic tile
- Hexagon mosaic floors (1", 2", 4" formats)
- Classic 12×12 and 18×18 porcelain floors
- Glazed and matte porcelain — all finishes
- Natural stone: marble, travertine, slate
- Heated floor system tile-overs (Schluter Ditra-Heat compatible)
- Subfloor leveling and reinforcement
- Room-to-room transitions (hardwood, LVP, carpet)
- Mold-resistant sanded and epoxy grout
Durable & Stylish Bathroom Flooring Solutions
The right tile for your bathroom depends on moisture exposure, traffic, aesthetic goals, and subfloor condition. We help you navigate the options and install them correctly.
Porcelain & Ceramic Tile Installation
Porcelain is the workhorse of bathroom flooring. With a water absorption rate below 0.5%, it resists moisture at the tile body level — not just at the surface glaze. This matters in bathrooms where grout joints, edge chips, or hairline cracks can allow water to reach the subfloor over time. We use polymer-modified thin-set rated for wet areas, back-butter tiles larger than 6×6 to eliminate hollow spots, and apply sanded or epoxy grout depending on joint width and client preference. The result is a floor that performs at the installation level, not just at the surface.
Hexagon Mosaic Floors
Hexagon tile has returned to mainstream design for good reason — it delivers pattern interest, traction benefit, and timeless appeal in a single format. The high grout-to-tile ratio creates friction comparable to mosaic floors, making hexagon an excellent choice where slip resistance is a priority. Sheet-mounted mesh backing speeds installation without sacrificing layout precision. We plan hexagon layouts from the visual center of the room outward, ensuring the pattern reads symmetrically and cut tiles at walls are balanced on opposite sides. Grout color is mocked up on-site before grouting begins.
Large-Format 12×24 Tile Installation
The 12×24 format is one of the most popular bathroom floor choices we install. Running the long dimension toward the entry creates a lengthening effect that makes small bathrooms read larger. Fewer grout lines means less maintenance surface and a cleaner look. The installation challenge is that large tiles demand a flatter substrate — any deviation over 1/8″ per 10 feet causes lippage (one tile edge sitting higher than the next). We assess the subfloor before committing to this format and use self-leveling compound and leveling clips to bring the surface within tolerance. If the subfloor can't support the format, we tell you before work begins — not after.
Natural Stone Flooring
Marble, travertine, and slate floors add material warmth and luxury that no manufactured tile fully replicates. They also require more care in installation and maintenance. Natural stone is porous — it must be sealed before grouting and again after, and periodically thereafter depending on foot traffic. Some stones (travertine in particular) have natural voids that need to be filled and back-buttered thoroughly to prevent hollow spots. Marble requires non-acidic cleaners and is susceptible to etching from everyday bathroom products. We walk every natural stone client through the realistic maintenance picture before install, so the floor continues to look right for the long term.
Precision Leveling for a Flawless Finish
Tile doesn't lie — an uneven subfloor shows up as lippage, grout cracks, and loose tiles within months of installation. Our leveling process eliminates the substrate problems that cause premature failure.
Leveling Clip & Spacer Systems
We use a clip-and-wedge leveling system on all tiles 6×6 and larger. Clips are inserted beneath adjacent tile edges before thin-set cures; wedges are driven in to bring both surfaces flush. Once the thin-set hardens, the clip stem breaks off cleanly at the tile surface. The result is a zero-lippage finish — surfaces that are perfectly coplanar regardless of minor substrate variation. This system is especially critical on 12×24 and larger formats where any height differential between adjacent tiles is immediately visible and a safety concern underfoot.
Subfloor Assessment & Reinforcement
Before any tile goes down, we walk the subfloor to identify deflection, soft spots, and out-of-flat areas. The TCNA standard for tile substrates is 1/8″ variation over a 10-foot span — anything beyond that requires correction. Self-leveling compound addresses low spots quickly. High spots are ground down. For stone installations over wood-framed floors, we often add a layer of Schluter Ditra uncoupling membrane, which absorbs the movement between the wood substrate and the rigid tile above — one of the primary causes of cracked grout in older homes with flexible floors.
Room-to-Room Transitions
Where your new tile floor meets an adjacent hardwood, LVP, or carpet surface, the transition needs to be handled with the right profile at the right height. A flush T-bar works when surfaces are at the same level. A reducer profile steps down from tile to a lower surface. Where tile abuts carpet, a Z-bar holds the carpet edge and terminates the tile cleanly. We measure finished floor heights before setting begins so the transition profile is the right product — not an afterthought that creates a trip hazard or an ugly gap at the doorway.
Subfloor Types: What Each Needs Before Tile
Concrete Slab
- ✓ Check for cracks — active cracks require isolation membrane
- ✓ Grind high spots, fill low spots with leveling compound
- ✓ Test for moisture vapor emission before setting
- ✓ No deflection concern — rigid base ideal for large format
- ✓ Direct bond with modified thin-set
Wood-Framed Subfloor
- ✓ Deflection must be within L/360 — often requires added blocking
- ✓ Cement board or Ditra uncoupling membrane required
- ✓ Screw pattern density matters — every 6" in field
- ✓ Large format tiles require stiffest possible assembly
- ✓ Ditra preferred for natural stone over wood frames
How We Install Your Bathroom Floor Tile
Every bathroom floor project follows the same structured sequence — no shortcuts that save time now but cost you tile repairs later.
Demo & Subfloor Inspection
We remove the existing floor covering — vinyl, old tile, or damaged subfloor — and inspect what's underneath. Soft spots, delamination, and moisture staining are addressed before any new material goes down. Toilet and vanity removal and reinstall is included in our scope.
Substrate Prep & Leveling
We bring the subfloor into TCNA flatness tolerance: 1/8" over 10 feet. Self-leveling compound fills low spots. High spots are ground. Cement board or Ditra membrane is installed over wood frames with proper screw density and staggered seams.
Layout & Tile Setting
We snap layout lines from the visual center of the room and dry-lay the field before any adhesive is mixed. This confirms the layout reads symmetrically and grout lines align with doorways and fixtures. Tile is set with back-buttered, full-coverage thin-set and leveling clips on all tiles 6×6 and larger.
Grout, Seal & Final Inspection
After 24 hours of thin-set cure time, we grout at the specified joint width. Silicone caulk replaces grout at all changes of plane — base of walls, around the toilet flange, vanity pedestal. Non-epoxy grout is sealed before handoff. We walk the floor with you before we leave.
Bathroom Floor Tile Projects in North Mississippi
A sample of our recent bathroom floor installations across Oxford, Batesville, and the surrounding area.
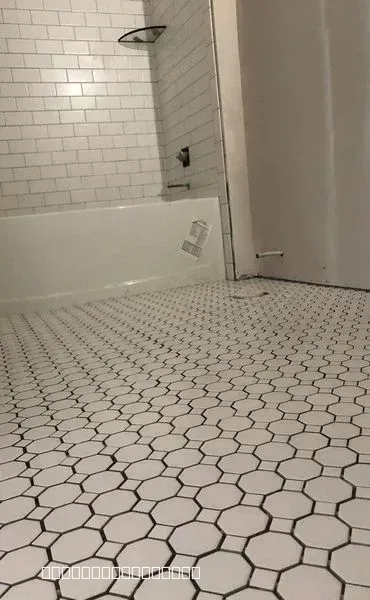
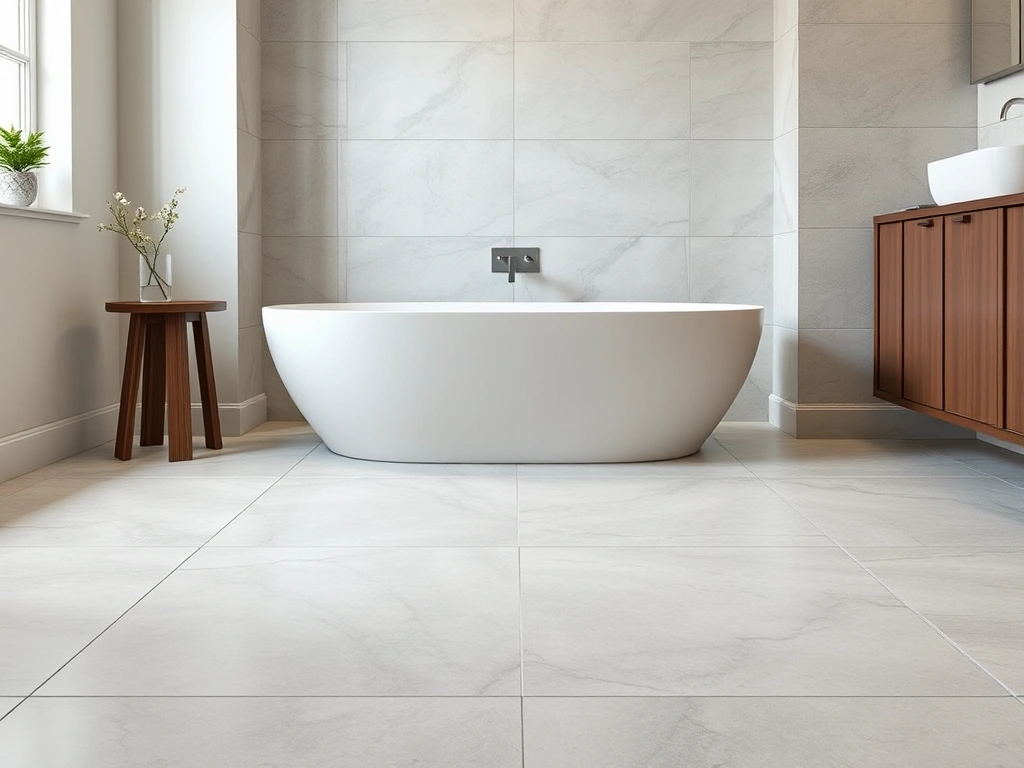
New Bathroom Tile Installation and Remodel
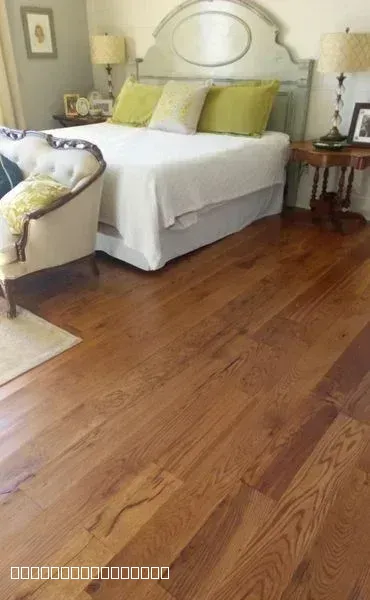
Beautiful Hardwood Flooring Installation in Bedroom
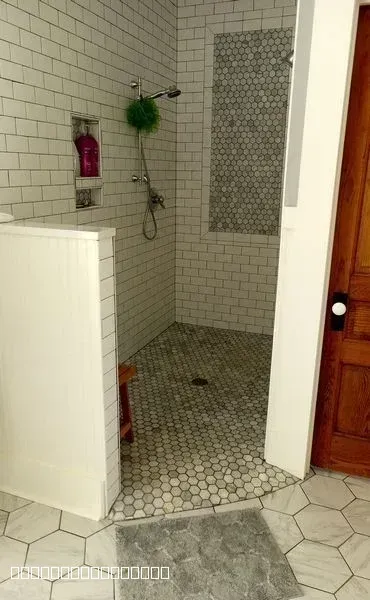
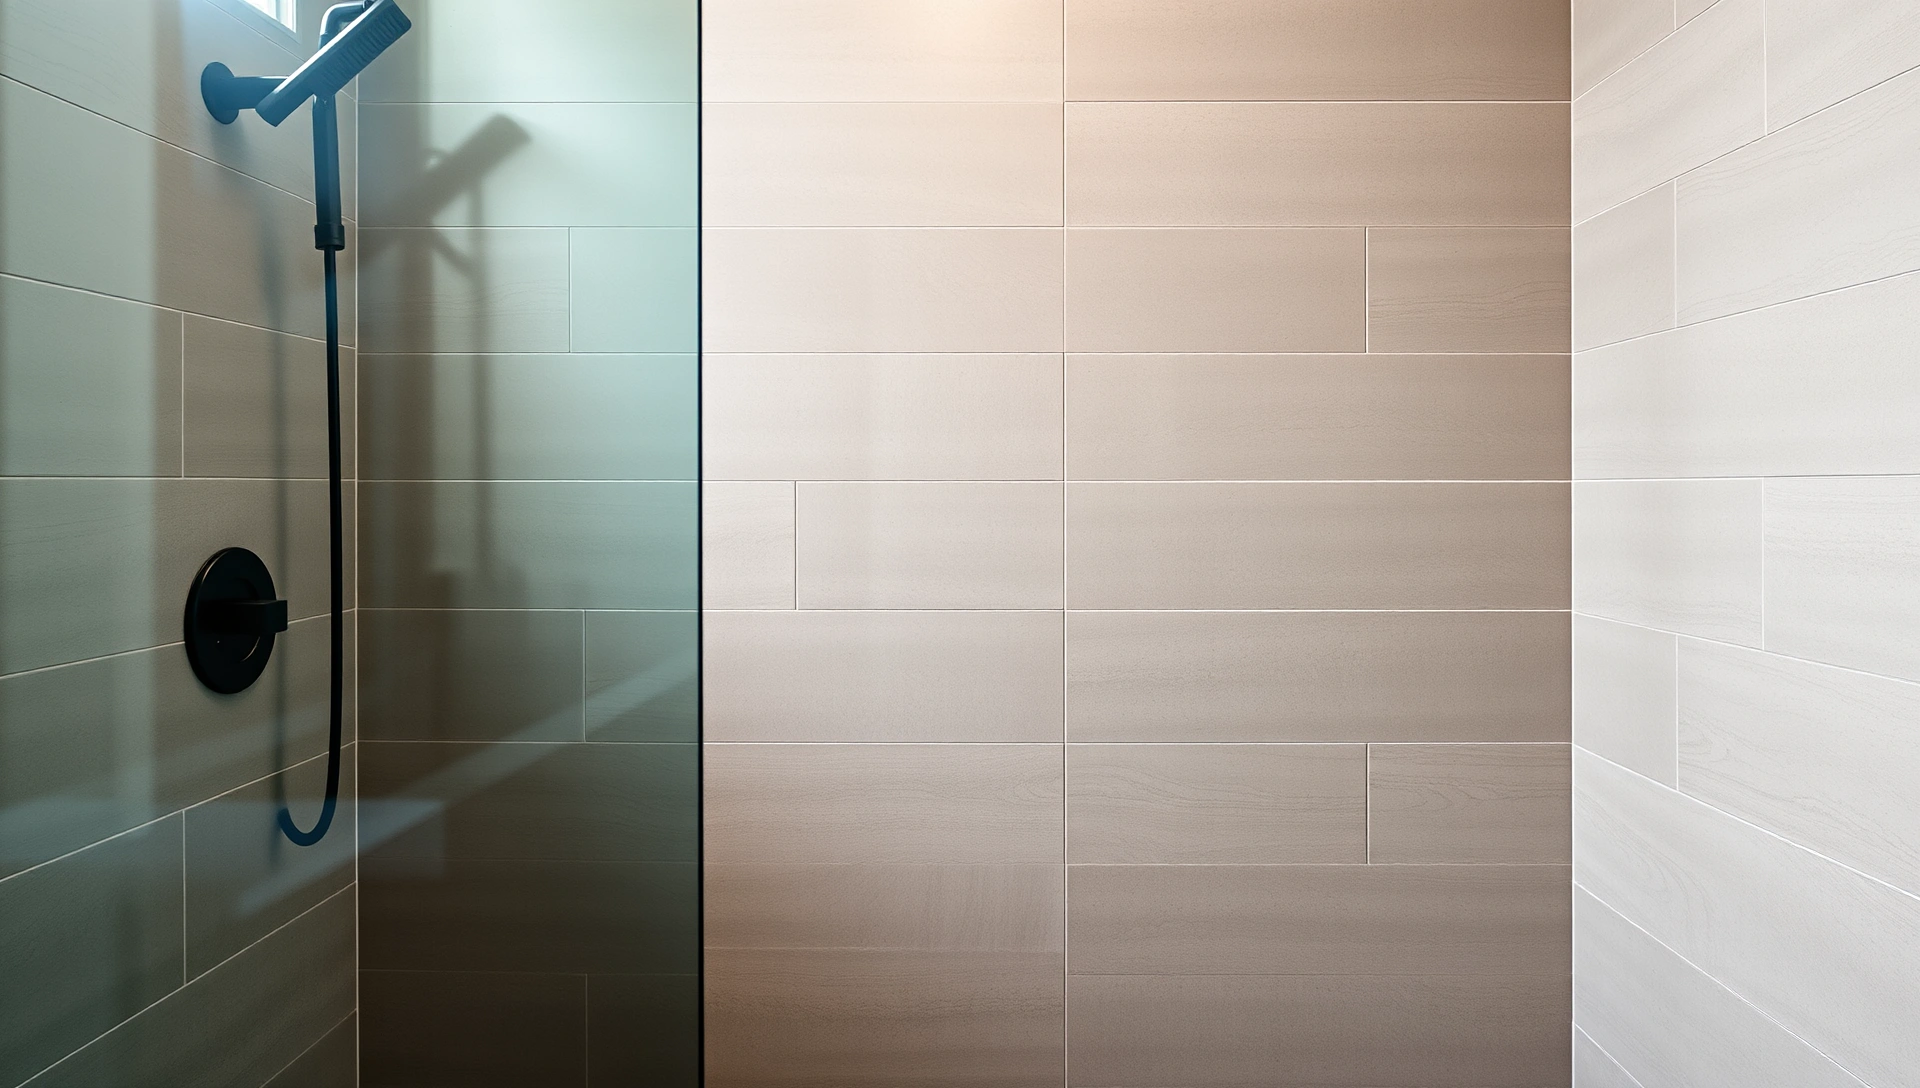
Modern Walk-In Shower With Subway Tile
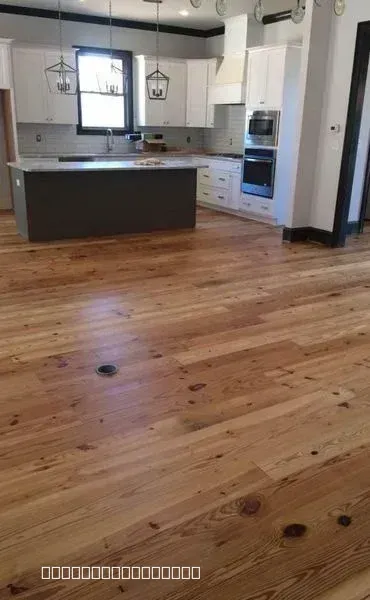
Modern Kitchen with New Hardwood Flooring
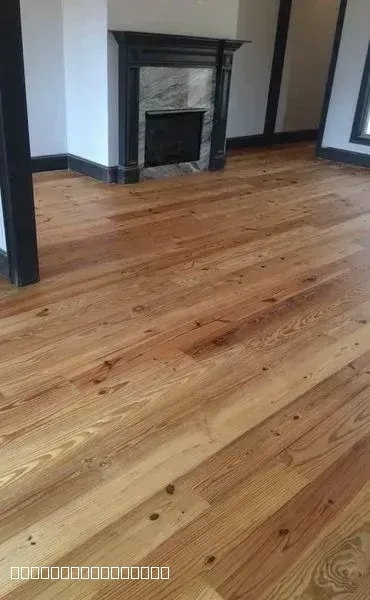
Beautiful Hardwood Flooring Installation with Fireplace
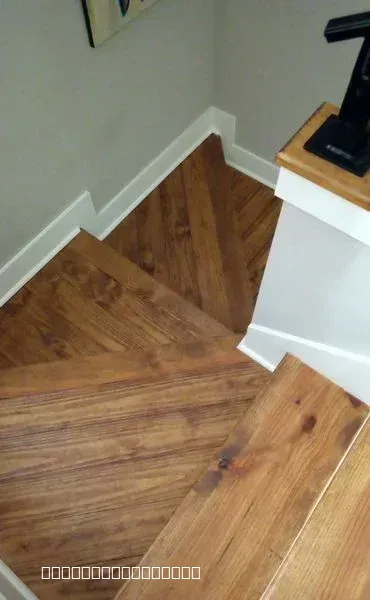
Custom Hardwood Staircase Flooring Installation Project
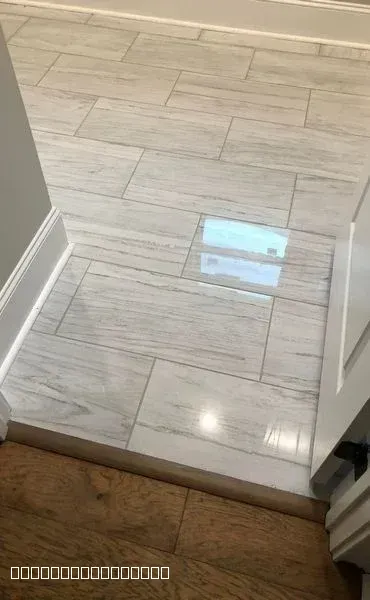
Professional Tile Installation in Modern Home
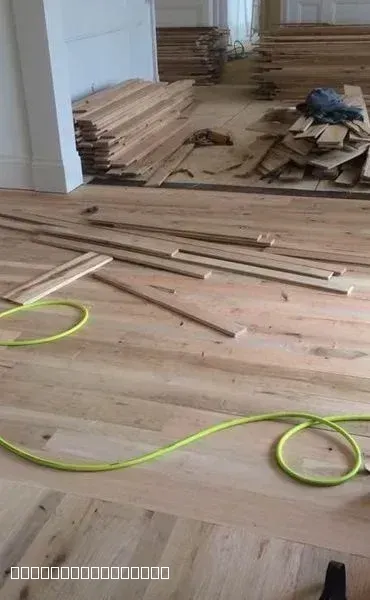
Hardwood Flooring Installation in Progress by TAV Construction
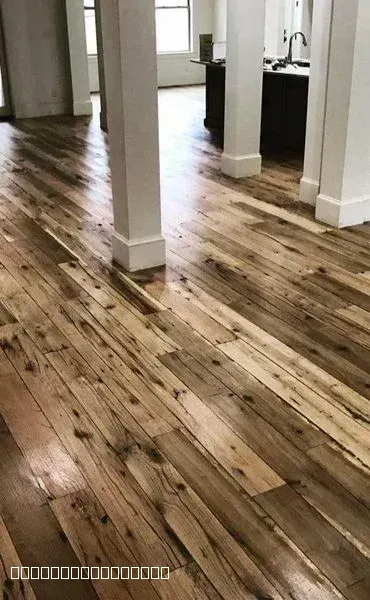
Rustic Hardwood Flooring Installation in Modern Home
Ready to Replace Your Bathroom Floor?
Get a detailed estimate from TAV Construction. We serve Oxford, Batesville, Corinth, New Albany, Tupelo, and all of North Mississippi.
Related Tile & Construction Services
Custom Tile Backsplashes
Kitchen and laundry room backsplashes using the same precision layout and grout technique we apply in bathrooms. Mosaic, subway, and designer formats available.
Learn More →Shower Tile Installation
Schluter-certified waterproofing membranes, custom niches, mosaic floors, and full shower remodels — coordinated with your new bathroom floor tile.
Learn More →Drywall Repair & Patching
Bathroom remodels often expose damaged wall cavities. Our drywall crew repairs framing and backer board so every surface is solid before tile work begins.
Learn More →What Our Clients Say
Real feedback from homeowners across North Mississippi who trusted TAV Construction with their bathroom floor tile projects.
"Tav Construction exceeded our expectations on installing a runner for our staircase in our guest cottage. We look forward to using them again on future projects in our home in Plein Air"
Steve Corso
2026-05-12
"My experience with TAV Construction was great. Gavin the brick layer does excellent work. He's good at what he does. I would recommend him to anyone who's looking for someone who's dedicated to doing his job. My hat goes off to him..."
Reginald Nicholson
2026-04-17
"Excellent flooring work and very dependable."
Scott Hayes
2026-04-17
"Glevin is a kind and generous human being - and from there, his talent flows. I've worked with him multiple times, hiring him to install tile, flooring - anything where finish counts. He is dependable, reasonable, thoughtful and considerate. A true professional."
Matthew Hackworth
2026-03-12
""
Reuben Jaime
2025-12-05
""
Sultan Fadel (Alsultanko)
2025-12-04
Serving Oxford, Batesville & North Mississippi
Conveniently located for Oxford & Batesville, MS customers
Hours
Monday - Friday: 9am - 6pm
Saturday: 9am - 5pm
Sunday: Closed
Bathroom Floor Tile — Common Questions
Everything you need to know before replacing your bathroom floor in Oxford or Batesville, MS.
1Is porcelain tile better than ceramic for bathroom floors?
Porcelain is the stronger choice for bathroom floors in most situations. It's fired at higher temperatures and pressed at greater density, giving it a water absorption rate below 0.5% — virtually impervious to the moisture cycles a bathroom floor endures. Ceramic tile absorbs more water, which can cause cracking in high-traffic or wet-prone bathrooms over time. That said, quality ceramic in a dry powder room or low-traffic bath can perform reliably for years. The real cost difference is smaller than most homeowners expect, so we typically recommend porcelain for any floor that sees daily water exposure.
2How do I choose slip-resistant tile for my bathroom?
Start with the DCOF (Dynamic Coefficient of Friction) rating — tiles rated 0.42 or higher are considered slip-resistant for wet environments by ANSI standards. Textured or matte finishes perform better than polished or glazed surfaces because they create mechanical grip rather than relying solely on material hardness. Hexagon mosaics and smaller-format tiles also improve traction because the increased grout line frequency gives bare feet more surface variation to grip. We help clients select tiles that meet safety standards without sacrificing the look they want.
3How much does it cost to tile a small bathroom floor in Batesville?
For a standard 50–80 square foot bathroom floor in Batesville, labor typically runs $10–$18 per square foot installed, depending on tile size and subfloor condition. Removing existing vinyl or tile adds $2–$4 per square foot for demolition. Minimum project fees apply for very small bathrooms — most tile contractors (including us) have a minimum that reflects setup, material delivery, and job site time regardless of square footage. Porcelain tile itself ranges from $2–$12 per square foot depending on grade and format. We provide a full itemized estimate before any work begins.
4Can 12x24 tiles be installed in a small bathroom?
Yes, and it's a popular choice precisely because the larger format makes a small bathroom feel more expansive — fewer grout lines read as more continuous surface, visually stretching the space. The key is layout direction: running the long dimension toward the doorway creates a lengthening effect. The trade-off is that large tiles require a flatter, stiffer subfloor and careful lippage management using leveling clips during installation. We assess subfloor flatness before committing to a large-format layout and address any deflection or humps before setting begins.
5Do bathroom floor tiles need to be sealed?
It depends on the tile type and the grout. Porcelain and ceramic tiles are factory-glazed and don't need sealing. Natural stone — marble, slate, travertine — is porous and absolutely requires a penetrating sealer applied after installation and periodically thereafter. Grout is the more universal concern: cement-based grout (sanded or unsanded) should be sealed after curing to prevent staining and moisture absorption. Epoxy grout is non-porous and needs no sealing. We always discuss maintenance requirements with clients so there are no surprises after handoff.
6How long does it take to replace a bathroom floor?
Plan for a 2–3 day window from demolition to final walkthrough. Day one covers demo and subfloor prep — removing old tile or vinyl, patching the subfloor, and allowing any leveling compound to cure. Day two is tile setting — laying, leveling, and cutting the tile field. Day three (or the morning of day three) is grouting, caulking, and reinstalling fixtures. The bathroom is typically usable again 24 hours after grouting. We schedule projects to minimize disruption and give you a firm completion window before work starts.
7What is the best pattern for hexagon bathroom tiles?
For a consistent, professional result, start with a centered layout — find the visual center of the floor (not necessarily the geometric center) and build out symmetrically so cuts at opposite walls are equal. A wall-to-wall layout planned on paper before cutting begins prevents the lopsided look of small slivers on one side. Grout color is the biggest design decision: tight-matched grout (close to the tile color) reads as a quiet, refined surface; contrasting grout — white tile with dark grout or vice versa — makes the pattern pop and reads bold from across the room. We mock up grout color samples on-site before committing.
8Can you install tile over an existing vinyl floor?
We don't recommend it, and in most cases we won't do it. Vinyl floors flex — and tile needs a rigid, stable substrate to prevent cracked grout and popped tiles within a year or two. There are also height clearance concerns: adding tile over vinyl raises the finished floor height, which can create transitions to adjoining rooms, interfere with door swing, or conflict with toilet flange height. The right approach is to remove the vinyl first, inspect the subfloor for damage, and start with a clean, level base. The extra step is worth the longevity of the finished installation.
Still have questions?
We're here to help you find the answers.
Expert Bathroom Floor Tile Installation in North Mississippi
From subfloor leveling to final grout seal — TAV Construction handles every detail. Call us or fill out our contact form to get your free estimate.