Professional Shower Tile Installation in North Mississippi
Schluter-certified waterproofing, custom niches, and precision mosaic work — built to last in Oxford, MS and across North Mississippi.
Shower Tile Done Right — From Substrate to Grout
A shower is the most demanding tile environment in any home. Constant heat cycles, standing water, and steam put every weak point under pressure — and a failure behind the tile can go unnoticed until it becomes a mold or structural problem. TAV Construction approaches every shower project as a waterproofing job first and a tile job second. We use industry-standard Schluter Kerdi membranes, precision mortar beds, and sanded epoxy grout to create showers that perform for decades, not just a few seasons.
We serve Oxford, Tupelo, Corinth, New Albany, and surrounding communities across North Mississippi. Whether you're remodeling an existing shower, converting a tub to a walk-in, or building from rough framing, our crew handles the entire scope — demo, substrate prep, waterproofing, tile setting, grouting, and caulking.
What We Handle
- Schluter Kerdi & waterproofing membrane installation
- Mud-bed and foam-tray pre-slope systems
- Large-format porcelain and ceramic wall tile
- Mosaic floor tile with slip-resistant grout
- Custom tiled shower niches and benches
- Linear drain and center drain configurations
- Walk-in and barrier-free shower conversions
- Tub-to-shower conversions
- Grout color matching and epoxy grout application
Waterproof Shower Systems & Precision Tiling
Tile failure in showers almost always starts behind the surface. Our process addresses moisture at the source — before a single tile is set.
Schluter Kerdi Waterproofing
Kerdi is a bonded waterproofing membrane that installs directly over cement board or gypsum board before tile is set. Unlike barrier systems that rely on sealers applied after the fact, Kerdi becomes a continuous, vapor-permeable layer that prevents water from ever reaching the framing. We embed Kerdi-Band at all corners and transitions, creating a fully sealed envelope. This is the same system used in high-end hotel and commercial tile installations — and it's now our standard for every shower project in North Mississippi.
Custom Shower Niche Construction
A properly built niche is framed between studs, backed with cement board, and waterproofed with the same Kerdi membrane used on the walls — it is not an afterthought. We set the niche tile to align with your wall layout so grout lines flow naturally. A slight inward pitch on the niche floor ensures water drains back into the shower rather than pooling. The result is a built-in storage feature that looks custom and performs reliably.
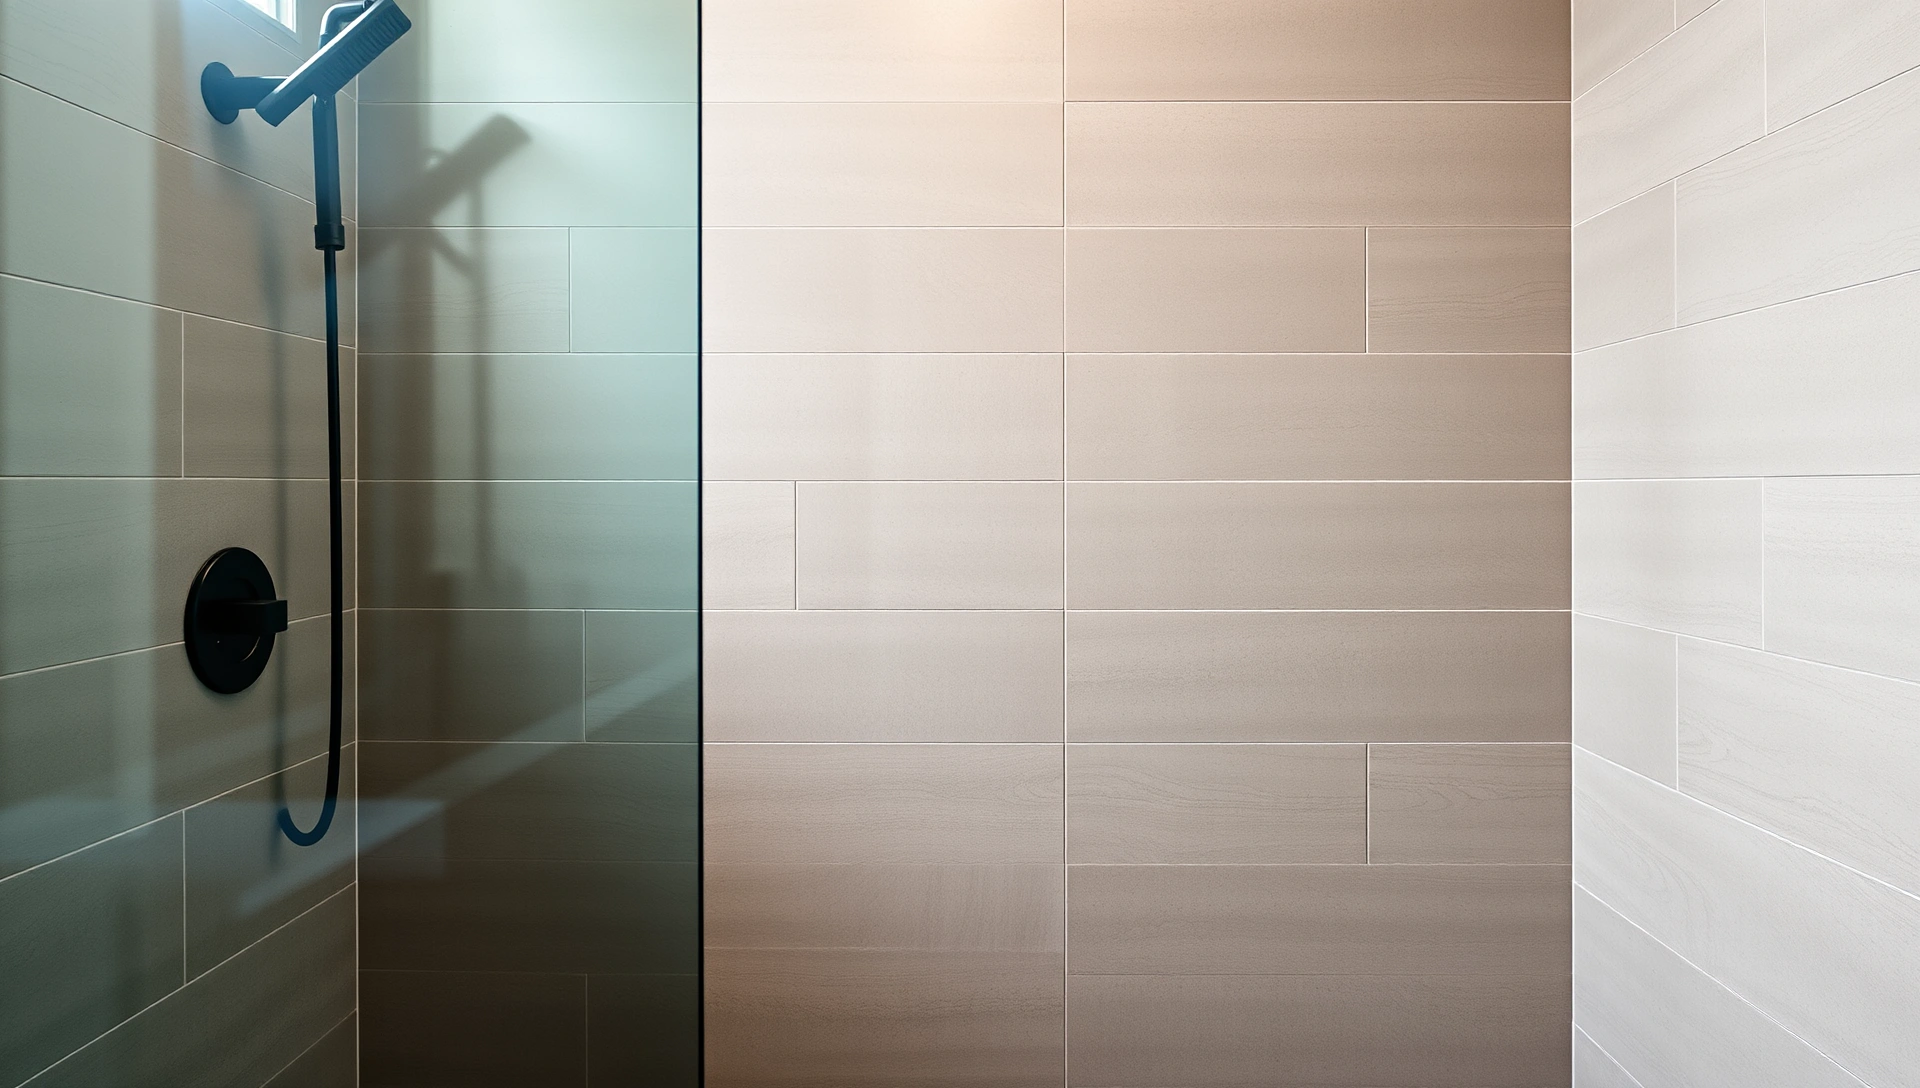
Large-Format Wall Tile Installation
Oversized tiles — 12×24, 18×36, or full slabs — require a flatter substrate than standard tile. We use a self-leveling system and back-butter each tile to eliminate hollow spots (lippage). Grout joints are typically 1/16″ to 1/8″, keeping the look clean while allowing for thermal movement. Large-format porcelain on shower walls creates a contemporary feel and dramatically reduces the number of grout lines that need cleaning over time.
Drainage Slope Calculation for Walk-In Showers
Walk-in showers, especially barrier-free designs for accessibility, require precise floor geometry. We calculate the exact pitch needed — minimum 1/4″ per linear foot to the drain — and pack a mortar pre-slope that distributes that fall evenly across the entire floor. For linear drains positioned at one wall, the floor becomes a single-pitch plane. For center drains, we create a four-way pyramid slope. This precision work prevents standing water and directs every drop to the drain efficiently.
Shower Floor Tile Specialists
The shower floor works harder than any other tile surface in the home. We engineer it for safety, drainage, and long-term durability.
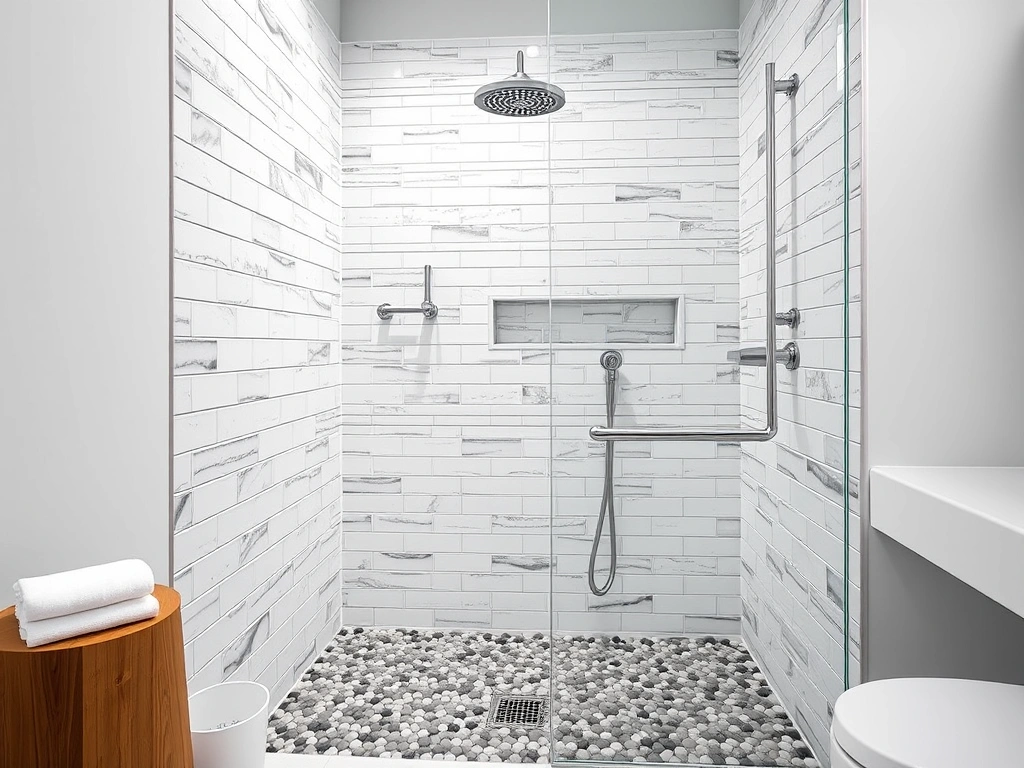
Slip-Resistant Mosaic Installation
Mosaic tiles — 1×1, 2×2, or penny rounds — are the gold standard for shower floors because the high grout-to-tile ratio creates surface friction that dramatically reduces slip risk. We use sanded epoxy grout, which resists staining and mold in high-moisture environments without requiring annual sealing. Grout joints are packed tight and uniformly, eliminating the micro-crevices where mildew colonizes in standard grout.
Linear & Center Drain Configurations
Linear drains, positioned along one wall, allow the entire shower floor to slope in a single direction — making large-format floor tiles possible and giving the space a modern, hotel-grade look. Center drains require a four-way slope and work best with smaller tile formats that can follow the compound curve. We handle both configurations and coordinate drain height with tile thickness before setting begins, so the finished floor drains flush with no lips or transitions.
High-Moisture Grout Application
Standard sanded grout in a shower floor will stain and mold within a year without diligent maintenance. We recommend and apply epoxy grout in wet zones — it cures harder than Portland-based grout, repels moisture, and resists most household cleaners. For clients who prefer the look of traditional grout, we use premium mold-resistant mixes and apply a penetrating sealer rated for continuous wet exposure. We match grout color to your tile to achieve a cohesive, finished look.
Mosaic vs. Large-Format Shower Floor: Quick Reference
Mosaic (2×2 and smaller)
- ✓ More grout lines = better traction
- ✓ Follows pre-slope curves easily
- ✓ Works with center and linear drains
- ✓ Ideal for traditional and transitional styles
- ✓ Epoxy grout strongly recommended
Large-Format (12×12 and larger)
- ✓ Fewer grout lines = easier maintenance
- ✓ Requires perfectly flat, rigid substrate
- ✓ Best with linear drain (single-slope floor)
- ✓ Modern, minimalist aesthetic
- ✓ Back-buttering and leveling clips required
From Demo to Done: Our Shower Installation Process
Every shower project follows a structured sequence that eliminates surprises and ensures every layer is correct before the next begins.
Demo & Substrate Inspection
We remove existing tile, fixtures, and any damaged backer board. We inspect the framing for moisture damage, replace compromised studs or joists, and confirm the substrate is plumb, level, and rigid before anything goes back on the wall.
Waterproofing & Substrate Prep
Cement board or Schluter Kerdi-Board is fastened to the framing. Kerdi membrane and Kerdi-Band are applied at all seams, corners, and penetrations. The floor pre-slope mortar bed is packed and allowed to cure. Nothing moves forward until the substrate is fully waterproof.
Tile Setting
Wall tile is laid from a level layout line using premium polymer-modified thin-set. Back-buttering is standard on tiles larger than 6×6. Floor tile is set into a skim coat over the cured pre-slope, leveled and aligned in full rows before any cuts are made.
Grout, Caulk & Final Inspection
We grout all joints at the specified width, pack them fully, and clean excess before it sets. Silicone caulk replaces grout at all changes of plane — floor-to-wall, inside corners, and around fixtures — allowing the joint to move without cracking. We do a final inspection before handoff.
Shower Tile Projects in North Mississippi
A sample of our recent shower remodels across Oxford, Tupelo, and the surrounding area.
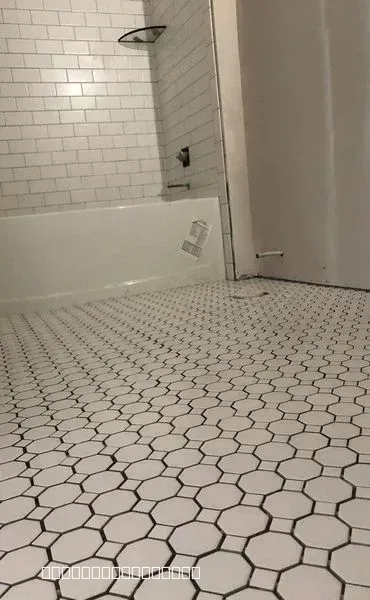
New Bathroom Tile Installation and Remodel
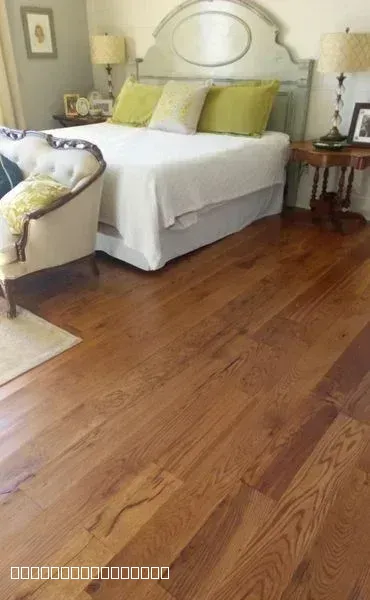
Beautiful Hardwood Flooring Installation in Bedroom
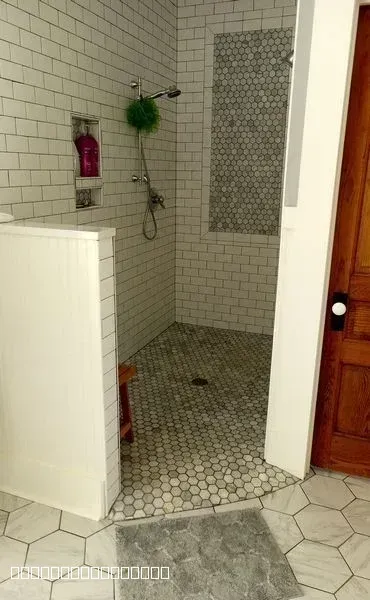
Modern Walk-In Shower With Subway Tile
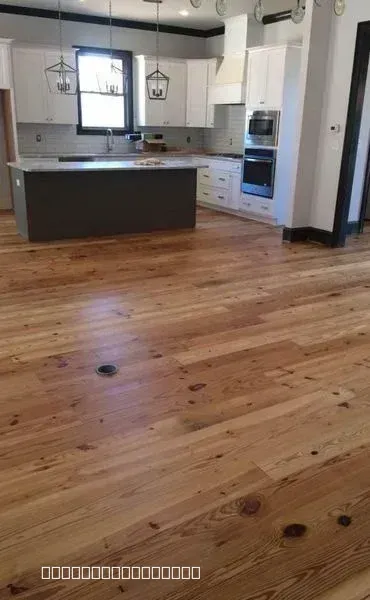
Modern Kitchen with New Hardwood Flooring
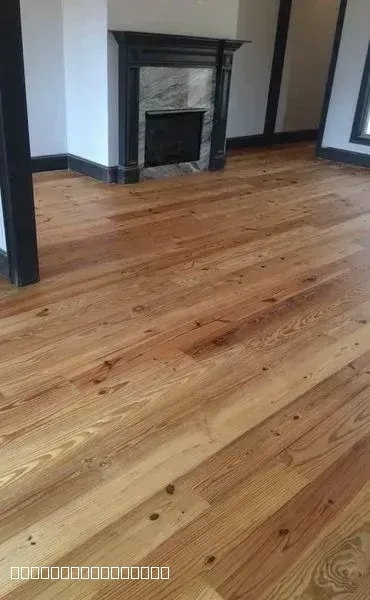
Beautiful Hardwood Flooring Installation with Fireplace
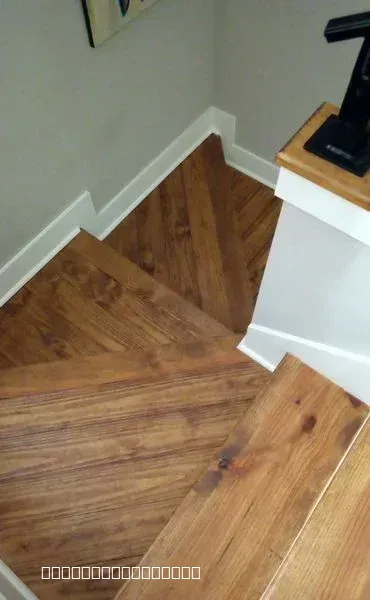
Custom Hardwood Staircase Flooring Installation Project
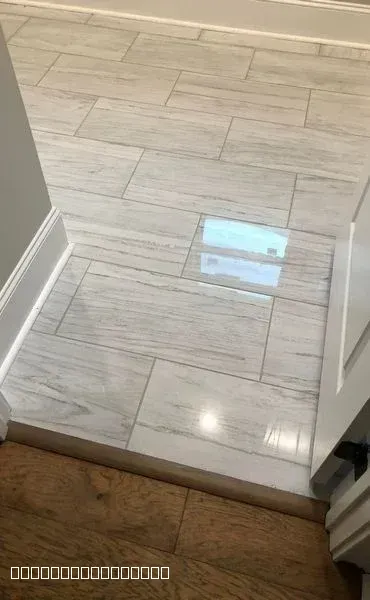
Professional Tile Installation in Modern Home
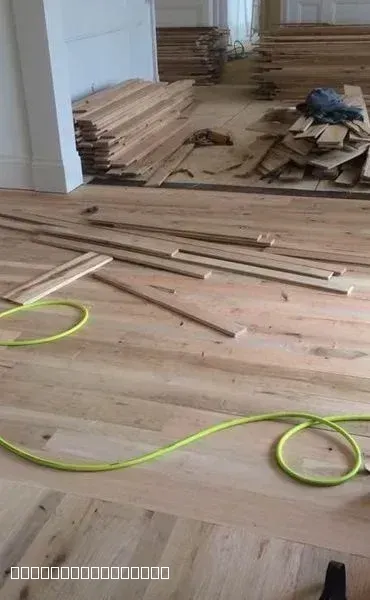
Hardwood Flooring Installation in Progress by TAV Construction
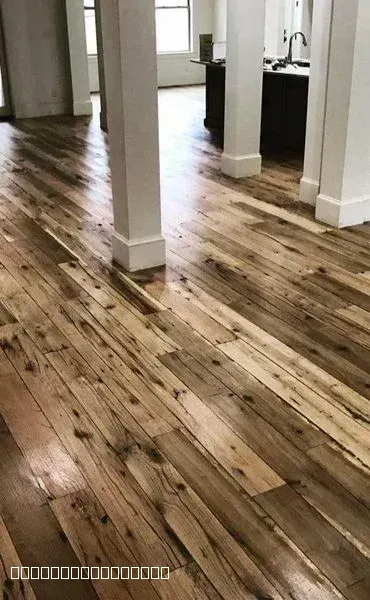
Rustic Hardwood Flooring Installation in Modern Home
Ready to Start Your Shower Remodel?
Get a detailed estimate from TAV Construction. We serve Oxford, Tupelo, Corinth, New Albany, and all of North Mississippi.
Related Tile & Construction Services
Custom Tile Backsplashes
Kitchen and laundry room backsplashes using the same precision layout and grout technique we apply in showers. Mosaic, subway, and designer formats available.
Learn More →Bathroom Floor Tiling
Heated floor-ready installations, hexagon patterns, large-format porcelain, and transition work that coordinates with your shower floor tile.
Learn More →Drywall Repair & Patching
Shower remodels often reveal damaged wall cavities. Our drywall crew repairs framing and backer board so your tile substrate is solid before work begins.
Learn More →What Our Clients Say
Real feedback from homeowners across North Mississippi who trusted TAV Construction with their shower tile projects.
"Tav Construction exceeded our expectations on installing a runner for our staircase in our guest cottage. We look forward to using them again on future projects in our home in Plein Air"
Steve Corso
2026-05-12
"My experience with TAV Construction was great. Gavin the brick layer does excellent work. He's good at what he does. I would recommend him to anyone who's looking for someone who's dedicated to doing his job. My hat goes off to him..."
Reginald Nicholson
2026-04-17
"Excellent flooring work and very dependable."
Scott Hayes
2026-04-17
"Glevin is a kind and generous human being - and from there, his talent flows. I've worked with him multiple times, hiring him to install tile, flooring - anything where finish counts. He is dependable, reasonable, thoughtful and considerate. A true professional."
Matthew Hackworth
2026-03-12
""
Reuben Jaime
2025-12-05
""
Sultan Fadel (Alsultanko)
2025-12-04
Shower Tile Installation — Common Questions
Everything you need to know before starting your shower remodel in Oxford, MS.
1What is the best tile for shower walls in Mississippi?
Porcelain is the top choice for shower walls in Mississippi's humid climate. It has a water absorption rate below 0.5%, making it virtually impervious to moisture and mold. Ceramic is a cost-effective alternative for lower-moisture walls, but its higher absorption rate means it needs consistent sealing. Large-format porcelain slabs (12×24 or larger) are especially popular because fewer grout lines mean easier cleaning and a sleeker look.
2How do you tile a shower floor to ensure proper drainage?
Proper drainage starts with a correctly pitched substrate — we slope the mortar bed at least 1/4 inch per foot toward the drain. For a traditional mud bed we hand-pack a pre-slope and a top-slope layer. Modern foam shower trays (like Schluter Kerdi-Shower) eliminate much of the guesswork and cure time. Tile size also matters: smaller mosaic tiles (2×2 or hexagon) follow the curved surface better and give more grout lines for grip, while large tiles require a flatter base and precision leveling.
3How much does shower tile installation cost in Oxford?
Shower tile installation in the Oxford, MS area typically ranges from $15–$35 per square foot for labor, depending on tile complexity and wall prep. A standard 36×36 shower stall runs roughly $1,200–$2,800 installed. Waterproofing systems like Schluter Kerdi add $300–$600 but are well worth the investment. Custom niches, benches, and linear drains add cost based on scope. We provide detailed estimates before any work begins.
4Can I install mosaic tiles on a shower floor?
Yes — and for most shower floors, mosaic tile is an ideal choice. The dense grout lines create friction, improving traction when wet. The small tile format flexes naturally around the curved pre-slope, preventing cracking. Sheet-mounted mosaics (on mesh backing) speed installation without sacrificing alignment. We use sanded epoxy grout in wet areas to maximize durability and minimize staining.
5Do you use Schluter waterproofing systems?
Yes. Schluter Kerdi is our preferred waterproofing membrane for shower walls and floors. Unlike traditional tar paper or plastic sheet systems, Kerdi bonds directly to the substrate and creates a continuous vapor-management layer that eliminates the primary cause of shower failure — moisture migrating behind the tile. When installed correctly, Kerdi-lined showers qualify for Schluter's lifetime system warranty, giving you long-term peace of mind.
6How long after tiling can I use my shower?
Plan for a 48–72 hour window after the final grout is applied before using the shower. Thin-set mortar beneath the tile needs 24 hours to cure before grouting begins. Grout itself needs another 24–48 hours to harden. If a penetrating grout sealer is applied (recommended for non-epoxy grouts), add another 24 hours drying time. Rushing this window risks cracking grout joints and undermining the waterproof seal.
7What is a shower niche and why do I need one?
A shower niche is a recessed shelf built into the shower wall to hold soap, shampoo, and toiletries — eliminating the need for hanging caddies that rust or fall. We frame, waterproof, and tile the niche to match your wall tile so it looks completely integrated. Niches add significant aesthetic value and practical function, and when properly waterproofed with a Kerdi membrane or similar system, they pose no moisture risk to the surrounding wall cavity.
8Is it possible to tile over a fiberglass shower base?
We don't recommend it. Fiberglass bases flex underfoot, and that movement will crack grout and eventually pop tiles loose — even with a flexible adhesive. The proper solution is to remove the fiberglass unit and build a mud-set or foam-tray mortar bed, which provides a rigid, waterproof foundation that tile can adhere to permanently. The upfront cost of conversion pays for itself in longevity and avoids repeat repairs.
Still have questions?
We're here to help you find the answers.
Expert Shower Tile Installation in North Mississippi
From waterproofing to final grout seal — TAV Construction handles every detail. Call us or fill out our contact form to get your free estimate.