Large Format Tile (LFT) Installation in Oxford & North MS
Oversized porcelain and stone slabs installed with precision leveling, full mortar coverage, and lippage control — delivering a seamless, modern finish across North Mississippi.
Large Format Tile — Precision That Standard Installers Skip
Large Format Tile opens up an interior like nothing else. A floor laid with 24×48 rectified porcelain reads as a continuous plane rather than a grid of individual pieces, making any room feel larger, cleaner, and more contemporary. That visual payoff is real — but it comes with technical demands that go well beyond what standard tile installation requires. Subfloor flatness tolerances tighten. Mortar selection becomes critical. Leveling systems replace guesswork. Every hollow spot under a large tile is a stress point waiting to crack.
TAV Construction approaches LFT projects as precision work. We assess the substrate first, correct what needs correcting, then set tile using medium-bed mortar, mechanical leveling clips, and the back-buttering technique — the same methods used on high-end commercial floors. The result is a surface that looks exceptional and stays intact. We serve Oxford, Batesville, New Albany, Tupelo, Corinth, and the surrounding North Mississippi region.
What We Handle
- Rectified porcelain in 24×24, 24×48, and slab formats
- Natural stone slabs — marble, travertine, quartzite
- Mechanical leveling clip systems for lippage control
- Medium-bed and LFT-specific mortar application
- Back-buttering for 95–100% mortar coverage
- Subfloor deflection assessment and reinforcement
- Crack isolation and uncoupling membrane installation
- Wall LFT with non-sag mortar and mechanical support
- Tight rectified grout joints (1/16" to 1/8")
Modern Elegance with Large Format Tile
The right LFT layout transforms a room. Fewer grout lines, continuous visual planes, and the weight of natural materials combine into an effect that smaller tile simply cannot replicate.
Expert Handling of Oversized Formats
Any tile with at least one edge exceeding 15 inches is classified as Large Format Tile by industry standards. Common configurations — 24×24, 24×48, and full porcelain panels at 48×96 — require handling equipment, layout planning, and mortar systems that standard tile crews simply don't carry. We invest in suction lifters, extended trowels, and dedicated LFT mortar because working at this scale without the right tools results in hollow spots, lippage, and eventual cracking. The visual reward of a seamless slab floor starts with treating the installation as the precision operation it actually is.
Lippage Control with Mechanical Leveling Systems
Lippage — the height difference between adjacent tile edges — is more visible on large tiles than on small ones because the eye travels farther across each surface before hitting a grout line. We use mechanical tile leveling systems: plastic clips seated beneath each tile edge and wedges tightened to bring neighboring tiles flush while the mortar cures. Once the thin-set hardens, the clip tabs snap off cleanly at the floor surface. The result is a floor that reads as a single continuous plane, not a grid of slightly misaligned squares.
Double-Buttering for Full Mortar Coverage
Standard tile installation applies mortar only to the substrate. For large format tile, that approach consistently leaves hollow voids beneath tile edges — areas where the mortar didn't transfer fully during embedding. We back-butter every tile: applying a skim coat of mortar to the back of the tile before it goes into the floor. Combined with the combed mortar bed on the substrate, back-buttering achieves the 95–100% coverage required by TCNA standards for LFT. Full coverage prevents edge cracking, distributes load evenly, and creates the rigid bond that keeps large tiles from flexing underfoot.
The Expansive Aesthetic for Modern Oxford Homes
North Mississippi homeowners are increasingly specifying large format porcelain for kitchens, open-plan living areas, master bathrooms, and covered outdoor patios. The appeal is straightforward: where a 12×12 floor reads as a grid, a 24×48 floor reads as a continuous material — closer to polished concrete or natural stone in visual weight. Rectified tiles with 1/16-inch joints push that effect further, creating an almost grout-free surface. We work with clients throughout the design phase to confirm the tile direction, layout origin point, and joint width that will best serve their specific space.
Technical Requirements for LFT
Large format tile is unforgiving of shortcuts. Meeting the substrate, mortar, and installation standards isn't optional — it's what separates a floor that lasts from one that fails within a year.
The TCNA/ANSI standard for LFT floors. For rectified tile with joints under 1/8", this tightens to 1/16" in 24 inches. We grind high spots and use floor-leveling compound on low areas before setting begins.
Wood subfloors must deflect no more than 1/360th of the span under load. We test this during assessment. Floors that don't meet the standard get a plywood overlay or uncoupling membrane before tile goes down.
TCNA requires 95% coverage for wet areas and 80% minimum for dry areas with LFT. We achieve this consistently through back-buttering and proper trowel selection. No hollow spots, no future cracking.
Rectified tile allows joints as tight as 1/16". Non-rectified tile needs at least 1/8" to accommodate manufacturing variance. Joint width also determines grout type — narrow joints require non-sanded grout.
LFT Mortar & Membrane Selection Guide
Mortar Types
- ✓ Medium-bed mortar — supports tile weight on floors without bed collapse
- ✓ Non-sag mortar — wall application; resists tile slippage during cure
- ✓ Large-tile thin-set — high polymer content for flex resistance
- ✓ Epoxy thin-set — chemical resistance for commercial applications
- ✓ Heated floor mortar — flexible rating for thermal cycling
Membranes & Underlayments
- ✓ Schluter Ditra / Ditra-XL — uncoupling membrane for wood subfloors
- ✓ Crack isolation membrane — prevents existing cracks from telegraphing
- ✓ Kerdi-Board — waterproofed substrate panel for wet areas
- ✓ Vapor barrier — required under slab-on-grade in humid climates
- ✓ Self-leveling underlayment — corrects low spots before tile layout
How We Install Large Format Tile — Start to Finish
Every LFT project follows a structured sequence. Each phase must be correct before the next begins — there are no shortcuts that don't show up later.
Substrate Assessment
We measure floor flatness with a 10-foot straightedge, test wood subfloor deflection, and check for existing cracks or moisture. If the substrate doesn't meet LFT tolerances, we document exactly what needs to change before we commit to a layout.
Prep & Correction
High spots are ground flush. Low areas receive self-leveling underlayment. Wood subfloors that don't meet the deflection standard get a plywood overlay or a Ditra uncoupling membrane. Crack isolation membrane is applied over any existing cracks in concrete.
Tile Setting with Leveling System
We snap layout lines from the room's centerpoint, mix LFT mortar to spec, and back-butter each tile before embedding. Mechanical leveling clips are inserted at every joint and tightened to bring edges flush. Suction lifters are used for tiles above 24×48.
Grout, Seal & Inspection
After a full cure period, we grout at the specified joint width, clean excess thoroughly, and apply penetrating sealer where the tile type requires it. Silicone caulk replaces grout at all changes of plane. We do a final walk-through before handoff.
Large Format Tile Projects in North Mississippi
A sample of our recent LFT installations across Oxford, Batesville, New Albany, and surrounding communities.
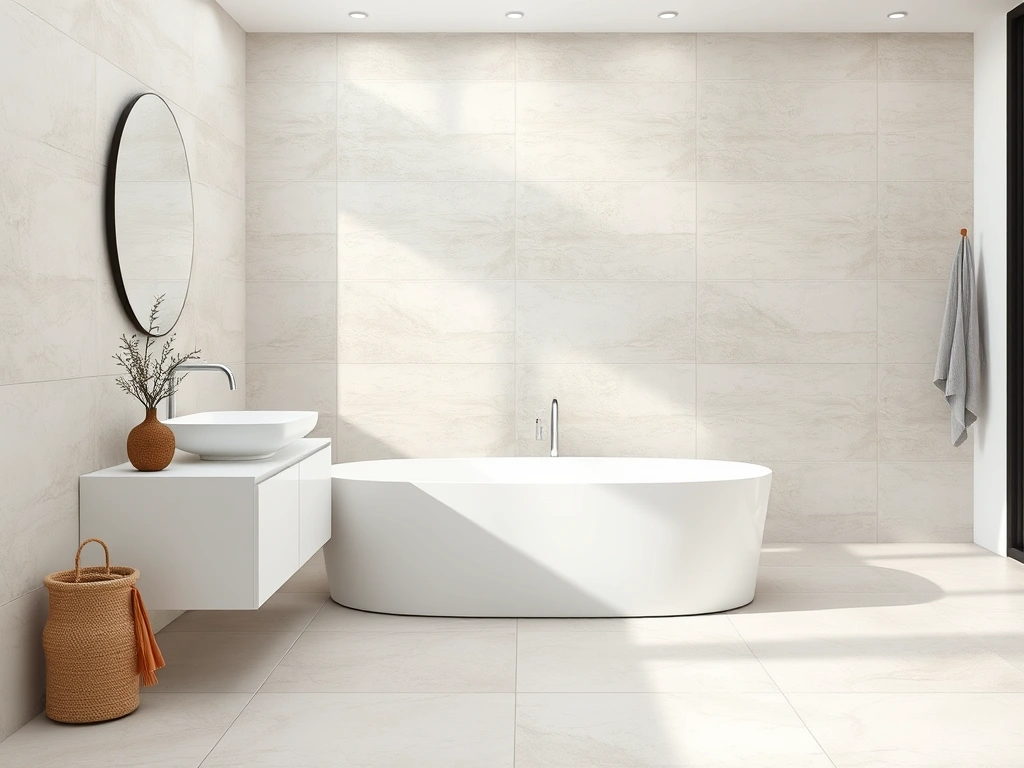
New Bathroom Tile Installation and Remodel
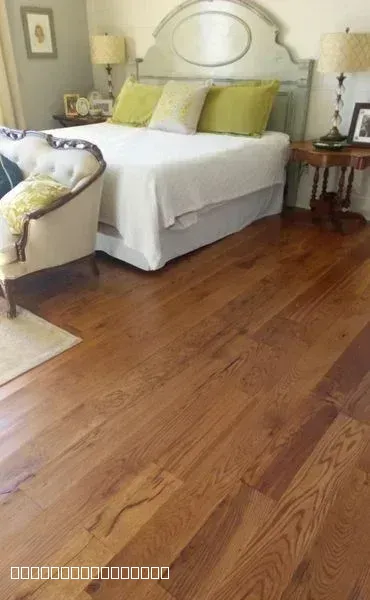
Beautiful Hardwood Flooring Installation in Bedroom
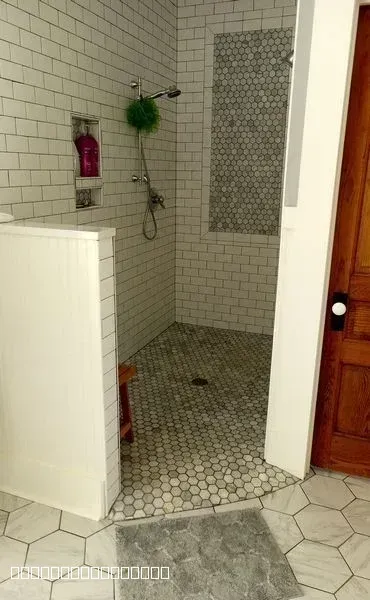
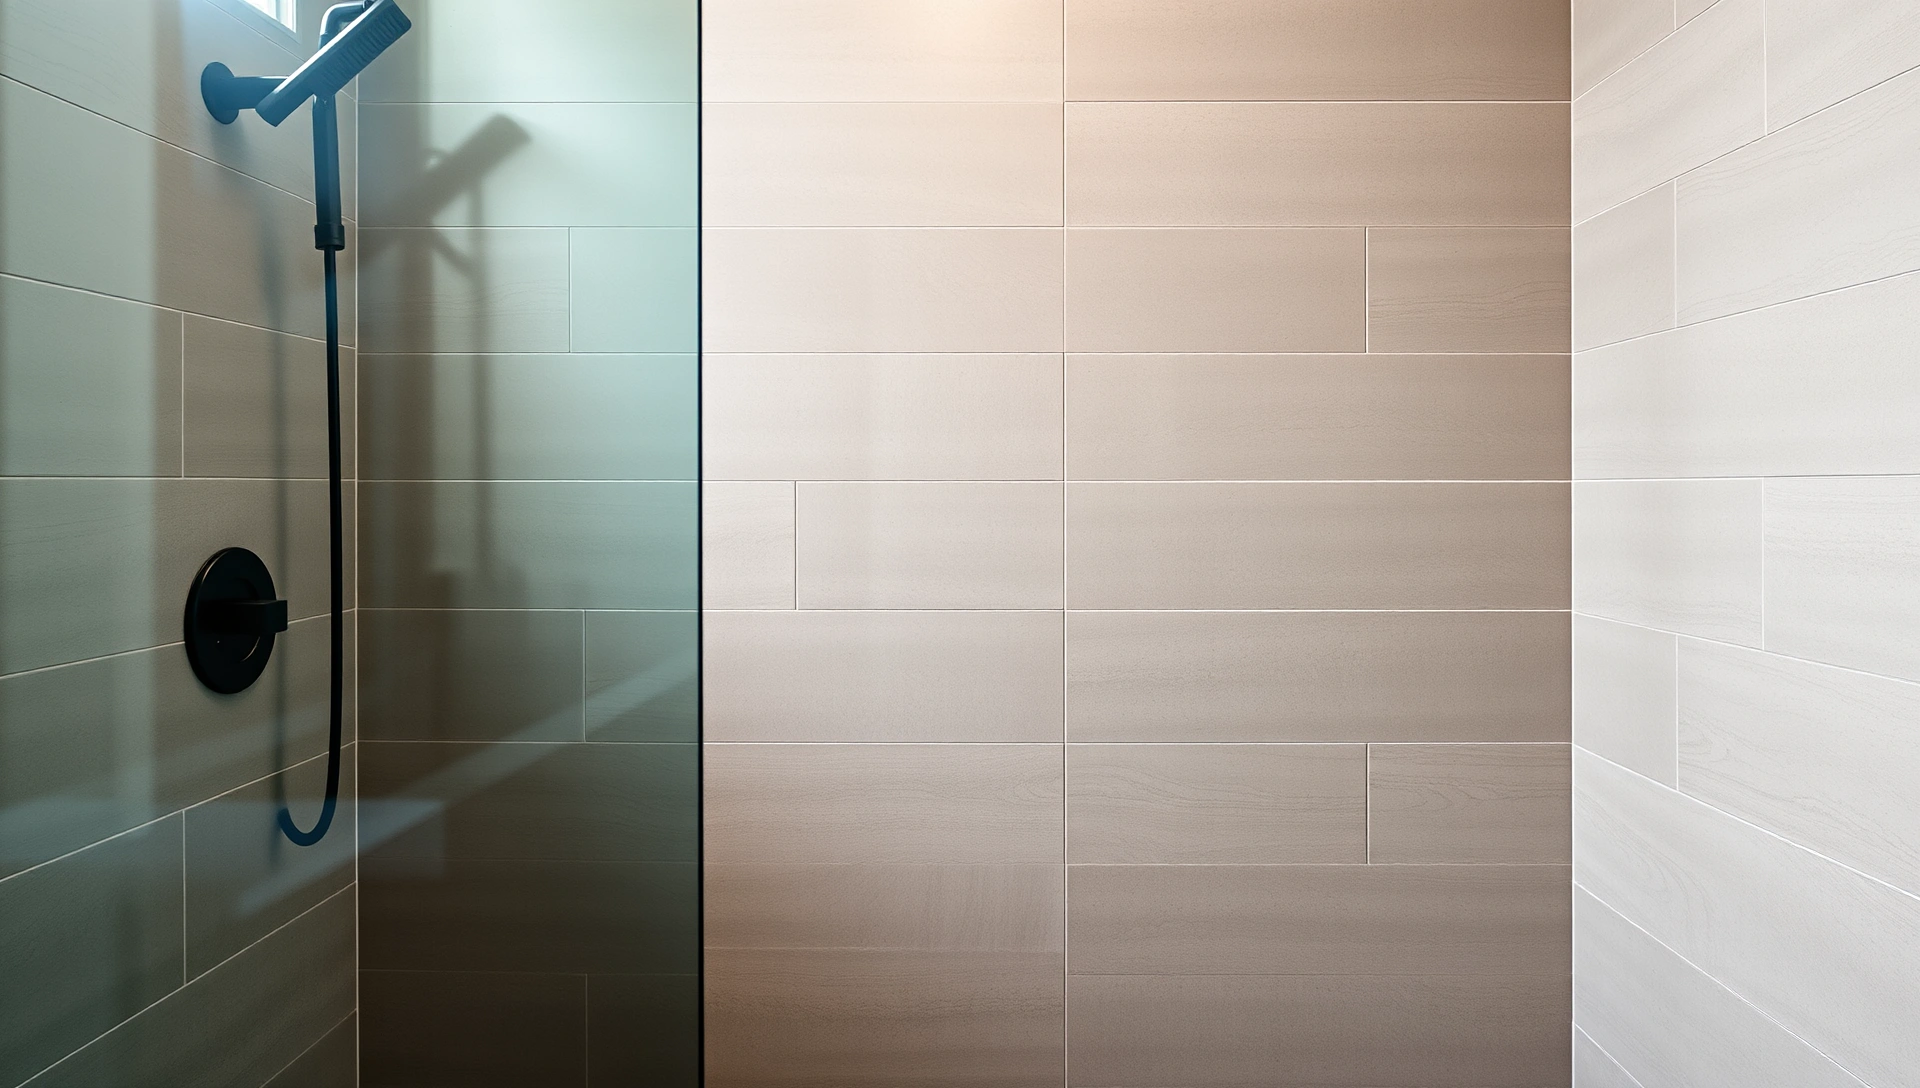
Modern Walk-In Shower With Subway Tile
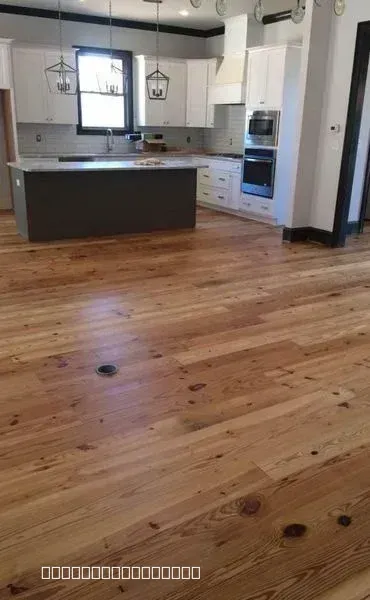
Modern Kitchen with New Hardwood Flooring
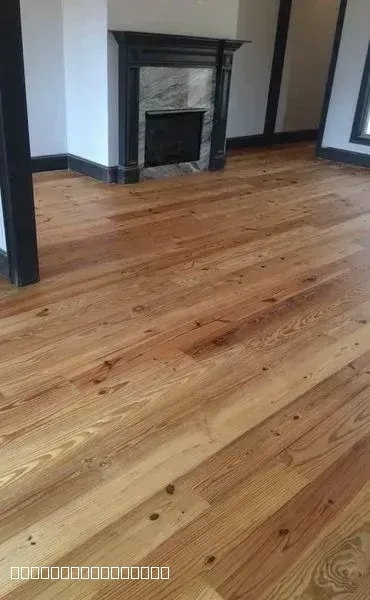
Beautiful Hardwood Flooring Installation with Fireplace
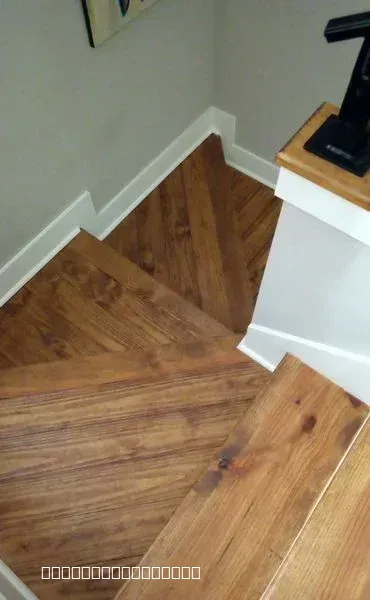
Custom Hardwood Staircase Flooring Installation Project
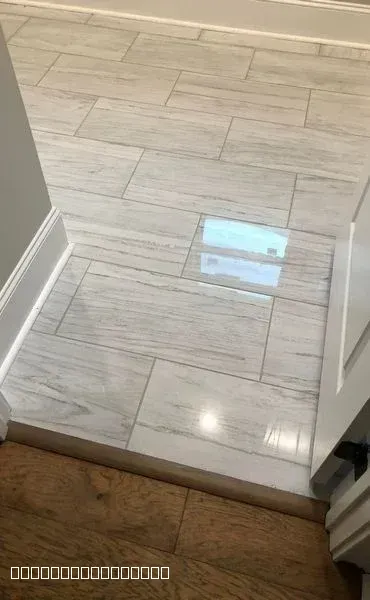
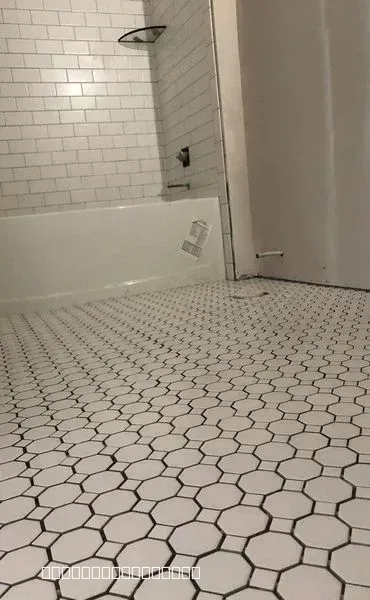
Professional Tile Installation in Modern Home
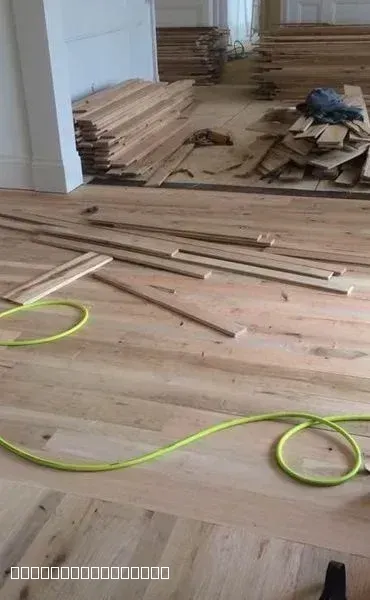
Hardwood Flooring Installation in Progress by TAV Construction
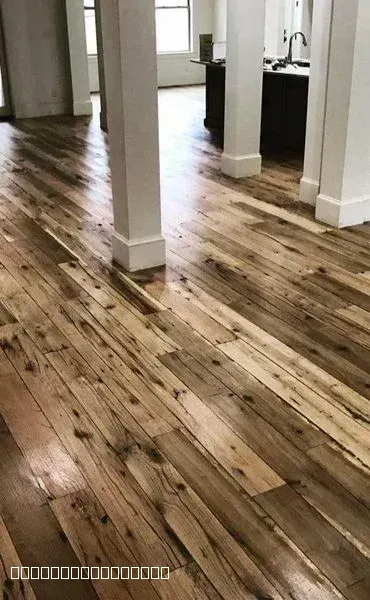
Rustic Hardwood Flooring Installation in Modern Home
Ready to Upgrade to Large Format Tile?
Get a detailed on-site estimate from TAV Construction. We serve Oxford, Batesville, New Albany, Corinth, Tupelo, and all of North Mississippi.
Related Tile & Construction Services
Custom Tile Backsplashes
Kitchen and laundry backsplashes using the same precision layout technique we apply to LFT floors. Large-format slab backsplashes are a specialty — continuous material with near-invisible joints.
Learn More →Shower Tile Installation
Large format porcelain on shower walls demands the same non-sag mortar and leveling systems we use on floors. We handle full LFT shower enclosures with Schluter waterproofing.
Learn More →Drywall Repair & Patching
LFT remodels often reveal damage behind existing flooring or walls. Our drywall crew repairs framing and substrates so your tile installation starts on a structurally sound base.
Learn More →What Our Clients Say
Real feedback from homeowners across North Mississippi who trusted TAV Construction with their tile projects.
"Tav Construction exceeded our expectations on installing a runner for our staircase in our guest cottage. We look forward to using them again on future projects in our home in Plein Air"
Steve Corso
2026-05-12
"My experience with TAV Construction was great. Gavin the brick layer does excellent work. He's good at what he does. I would recommend him to anyone who's looking for someone who's dedicated to doing his job. My hat goes off to him..."
Reginald Nicholson
2026-04-17
"Excellent flooring work and very dependable."
Scott Hayes
2026-04-17
"Glevin is a kind and generous human being - and from there, his talent flows. I've worked with him multiple times, hiring him to install tile, flooring - anything where finish counts. He is dependable, reasonable, thoughtful and considerate. A true professional."
Matthew Hackworth
2026-03-12
""
Reuben Jaime
2025-12-05
""
Sultan Fadel (Alsultanko)
2025-12-04
Large Format Tile — Common Questions
Everything you need to know before specifying LFT for your Oxford, MS project.
1What is considered Large Format Tile (LFT)?
The tile industry defines Large Format Tile as any tile with at least one edge exceeding 15 inches. In practice, the most common LFT sizes are 12×24, 18×18, 24×24, 24×48, and full-slab porcelain panels running 48×96 inches or larger. These formats have exploded in popularity because they deliver fewer grout lines, a more continuous visual plane, and a modern, hotel-quality aesthetic. The trade-off is that larger tiles demand more from the substrate, the mortar, and the installer — which is why LFT work requires a crew that understands the specific tolerances involved.
2Does LFT installation cost more than standard tile?
Yes — large format tile consistently costs more to install than standard tile. The primary driver is labor: larger tiles are heavier, harder to maneuver, require specialized lifting tools, and demand more rigorous substrate prep. Lippage control systems (leveling clips and wedges) add material cost. Medium-bed and LFT-specific mortars run higher per bag than standard thin-sets. In the Oxford, MS area, expect LFT labor to run $18–$40 per square foot depending on tile size, floor complexity, and whether substrate reinforcement is needed. We provide itemized estimates before any work begins.
3How do you prevent lippage with large tiles?
Lippage — the visible height difference between adjacent tile edges — is the primary quality issue with large format tile. We prevent it through three complementary measures. First, the substrate must be flat to within 1/8 inch over a 10-foot span (1/16 inch over 24 inches for rectified tile); we grind high spots and fill low spots before anything is set. Second, we use mechanical tile leveling systems: plastic clips inserted beneath tile edges and wedges tightened to bring surfaces flush while the mortar sets. Third, back-buttering — applying mortar to the back of each tile in addition to the floor — ensures 95–100% coverage, eliminating hollow spots that cause edge flex and eventually cracking.
4Can large format tile be installed on walls?
Yes, and the effect is striking — floor-to-ceiling large format porcelain on a shower wall or a living room accent wall creates a seamless, architectural feel. Wall installation does add complexity. Non-sag mortar (also called medium-bed or wall mortar) is required to support tile weight without slippage during the cure period. On taller runs we use mechanical clips or prop systems to hold tiles in position until the mortar grabs. Shower walls in particular need a rigid, waterproofed substrate (Schluter Kerdi-Board or cement board) before any LFT goes up. We handle LFT on both floors and walls across all room types.
5What kind of mortar is used for large tiles?
Standard thin-set is insufficient for large format tile — the tile can sink into the mortar bed unevenly, and thin coverage creates hollow spots that lead to cracking over time. We use medium-bed mortars (sometimes called large-tile mortars or LFT mortar) that are formulated to maintain a consistent thickness under heavy tile without slumping. These mortars have a higher polymer content for flex resistance and extended open time, which is critical because setting a 48×48 slab correctly takes longer than a 12×12. For heated floor systems under LFT, we use uncoupling membranes and compatible flexible thin-sets rated for the thermal cycling.
6How small can the grout lines be with LFT?
With rectified tile — tile that has been precision-cut to exact dimensions after firing — grout joints as narrow as 1/16 inch are achievable. This is the specification that creates the 'seamless slab' look popular in contemporary interiors. Non-rectified tile has natural variation in edge dimension and typically requires at least a 1/8-inch joint to accommodate that variance. Note that the tile manufacturer's installation guide will specify a minimum joint width for the specific product; following that spec is important for warranty and performance. We discuss joint width options during the estimate so you can make an informed choice before tile is ordered.
7Is my subfloor strong enough for heavy large tiles?
This is one of the most important questions in any LFT project, and the answer depends on what your subfloor is made of. Concrete slabs are generally rigid enough, though we still check for cracks and levelness. Wood subfloors must meet deflection limits — the industry standard is L/360, meaning a floor spanning 10 feet should deflect no more than 1/3 inch under load. We perform a deflection assessment before committing to a layout; if the floor is marginal, we recommend adding a layer of 1/2-inch plywood or installing an uncoupling membrane like Schluter Ditra-XL, which isolates the tile from substrate movement. For natural stone slabs, which are heavier than porcelain, we may recommend structural reinforcement.
8Where can I find LFT installers in Oxford?
TAV Construction is based in the Oxford, MS area and specializes in technically demanding tile projects including large format porcelain, natural stone slabs, and custom LFT layouts. We serve Oxford, Batesville, New Albany, Corinth, Tupelo, and surrounding North Mississippi communities. Our crew works on residential remodels, new construction, and commercial interiors. Contact us for a free on-site consultation and estimate — we'll assess your substrate, discuss your tile selection, and walk you through the full scope before any work begins.
Still have questions?
We're here to help you find the answers.
Expert Large Format Tile Installation in North Mississippi
From substrate assessment to final grout seal — TAV Construction handles every technical detail. Call us or fill out our contact form for your free estimate.