Mosaic Tile Specialists in Oxford, MS | Custom Patterns & Inlays
Glass, marble, and porcelain mosaic installation — precision sheet alignment, custom inlays, and expert grouting for Oxford, MS and North Mississippi.
Where Precision Meets Pattern
Mosaic tile is the most detail-intensive work in the tile trade. Unlike large-format tile — where a skilled installer can cover significant ground in a single session — mosaic demands patient layout work, careful sheet alignment, and a grout process tailored to the specific material in front of you. A glass mosaic shower accent wall and a marble bathroom floor medallion require entirely different adhesives, grout formulations, and finishing techniques. TAV Construction brings that material-specific expertise to every project in Oxford, MS and surrounding North Mississippi communities.
We install sheet-mounted and hand-set mosaics in glass, marble, porcelain, metal, and mixed-material combinations — for shower floors, accent walls, kitchen backsplashes, fireplace surrounds, and custom inlay work. Whether you're looking for a single focal-point feature or a fully patterned floor, our crew has the skill set and patience to deliver a finished surface that looks intentional from every angle.
Mosaic Applications We Cover
- Shower floor mosaic — pre-sloped, slip-resistant
- Shower accent walls and niche interiors
- Kitchen backsplash focal points and full coverage
- Bathroom floor medallions and border inlays
- Fireplace surround and hearth mosaics
- Exterior entry and threshold patterns
- Glass tile feature walls
- Marble and stone hand-set patterns
- Custom geometric and herringbone layouts
Intricate Mosaic Tile Installation for Custom Finishes
Sheet-mounted mosaic looks simple until you try to install it. Seam alignment, substrate prep, and adhesive selection each make or break the final result.
Sheet-Mounted & Hand-Set Installation
Most mosaic tile ships on 12×12 mesh-backed sheets for faster coverage, but sheet installation introduces its own challenges. The gap between tiles within a sheet must precisely match the gap between adjacent sheets — otherwise the surface reads as a grid rather than a continuous pattern. We measure the inter-tile spacing on every new tile lot and calibrate our sheet positioning accordingly. For custom designs, borders, and medallions, we hand-set individual tiles to achieve the geometry and alignment that sheet installation can't produce.
Material-Specific Adhesive Selection
Glass, marble, porcelain, and metal mosaics each have different adhesion and thermal expansion characteristics. Glass tile is translucent — the adhesive color telegraphs through, so we use a white polymer-modified thin-set that won't yellow or gray over time. Marble requires a non-staining adhesive free of Portland pigments that can discolor light stone. Metal accents need flexible adhesives that accommodate expansion differences between the metal and the substrate. Using the wrong product causes debonding, staining, or cracking within the first heating season.
Precision Sheet Alignment — No Visible Grid Lines
Visible seam lines between mosaic sheets are the most common sign of an inexperienced installer. We eliminate them by staggering sheet joints (similar to staggering courses in brickwork), maintaining consistent inter-sheet spacing equal to the intra-sheet gap, and hand-adjusting individual tiles at every boundary. On larger surfaces — full shower walls, backsplash runs over 6 linear feet — we snap layout lines and dry-fit sections before any adhesive is applied. This level of planning prevents compounding errors that become impossible to correct once tiles are set.
Shower Floor Mosaic with Correct Pre-Slope
Mosaic is the preferred tile format for shower floors because the small tile size follows the curved pre-slope mortar bed without cracking — an advantage large-format tile simply cannot match on a compound drainage slope. We pack and cure a proper mortar pre-slope at 1/4 inch per foot to the drain before any mosaic is set, ensuring every drop of water travels to the drain efficiently. The high grout density on a mosaic floor — far more joint surface than a 12×12 floor — also provides superior slip resistance in a wet environment.
Mosaic Material Quick Reference
Glass
- ✓ Use white non-sanded or unsanded grout only
- ✓ White thin-set — adhesive color telegraphs through
- ✓ Avoid abrasive grout; scratches surface finish
- ✓ Best for backsplashes, accent walls, niches
Marble & Stone
- ✓ Non-staining, latex-free adhesive required
- ✓ Honed surfaces scratch easily — protect during grout
- ✓ Seal before and after grouting to prevent absorption
- ✓ Ideal for medallions, borders, bathroom floors
Porcelain & Ceramic
- ✓ Most forgiving — standard thin-set appropriate
- ✓ Sanded or unsanded grout based on joint width
- ✓ Epoxy grout highly recommended in wet areas
- ✓ Best all-around option for shower floors
The Art of Mosaic Grouting and Finishing
The grout stage makes or breaks a mosaic installation. Color choice, product selection, and haze removal all require more care with small-format tile than any other surface.
Grout Color Strategy for Intricate Designs
On a mosaic surface, grout occupies far more visual territory than on large-format tile — sometimes 20–30% of the total surface area. A high-contrast grout color will visually outline every individual tile and amplify the pattern. A tone-matched grout will create a more unified, painterly finish. Neither is inherently right — the choice depends on the design intent. We walk every client through sample mockups before committing to a grout product so you can see exactly how the final surface will read from multiple distances. For medallion and inlay work, we sometimes use two grout colors: one for the feature field and a different shade for the surrounding field.
Non-Sanded & Epoxy Grout for Glass Surfaces
Glass mosaic tile has a surface hardness that standard sanded grout will scratch during application. The silica aggregate in sanded grout acts like fine sandpaper against a glass face, leaving micro-abrasions that dull the reflective finish permanently. For glass tile, we use unsanded grout formulated for joints under 1/8 inch, applied with a soft float and cleaned with a damp, non-abrasive sponge in tight circular passes. Where long-term performance in wet areas is the priority — shower niches, steam room walls — we specify translucent epoxy grout, which bonds chemically rather than mechanically and requires no sealing over the life of the installation.
Grout Haze Removal on Complex Surfaces
Grout haze on mosaic is significantly harder to remove than on large-format tile because each individual tile face is recessed between joints — the haze pools in texture and relief details that a simple wipe can't reach. We use a multi-pass cleaning process: an initial damp-sponge removal while the grout is still in its green state, followed by a dry buff with cheesecloth, and a final inspection under raking light that reveals any residual film. For glass and polished stone mosaics, we use a pH-neutral grout haze remover rather than an acid-based product, which can etch the surface finish or react with certain grout colorants.
Custom Niche & Corner Wrapping
Corners and niches are where mosaic installations most often fall apart visually. An outside corner that isn't mitered or capped with a metal Schluter profile looks unfinished — the raw tile edge and adhesive are exposed. Inside corners require a silicone joint, not grout, to allow for thermal movement without cracking. On niche interiors, we continue the mosaic across all five surfaces — back wall, two sides, floor, and ceiling — with grout lines that align precisely with the surrounding wall pattern. The result is a niche that reads as a seamless architectural detail, not a hole in the wall with tile stuck around it.
Our Mosaic Installation Process
From substrate check to final buff — every phase is designed to protect the detail in your tile.
Substrate Prep & Layout
We verify the substrate is flat (no more than 1/8" variation over 10 feet), dry, and structurally sound. Layout lines are snapped and dry-fit sections are tested before any adhesive opens.
Adhesive & Sheet Setting
Material-appropriate thin-set is back-buttered on the substrate and the tile back. Sheets are set to layout lines, pressed firmly, and adjusted for consistent inter-sheet spacing before the adhesive skins over.
Grouting
Grout product is selected for material compatibility and joint width. We work in manageable sections, packing joints fully, and begin the initial sponge-clean before the grout firms. Silicone caulk replaces grout at all changes of plane.
Haze Removal & Sealing
A final haze-removal pass under raking light ensures every tile face is clean. Penetrating sealer is applied to non-epoxy grout installations, and a final inspection confirms alignment, joint consistency, and surface quality.
Mosaic Tile Projects in North Mississippi
A sample of our recent mosaic work across Oxford, Tupelo, and surrounding communities.
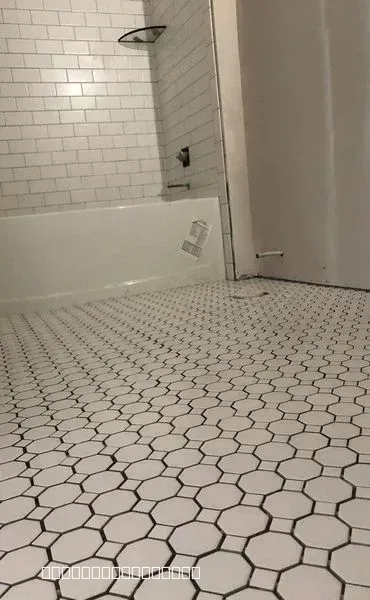
New Bathroom Tile Installation and Remodel
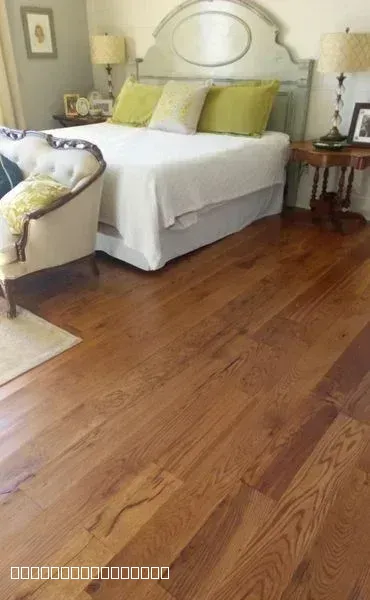
Beautiful Hardwood Flooring Installation in Bedroom
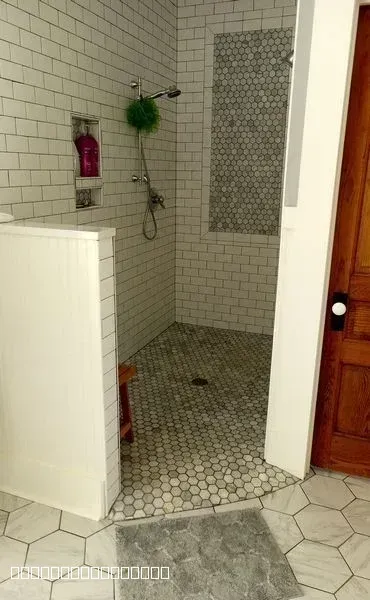
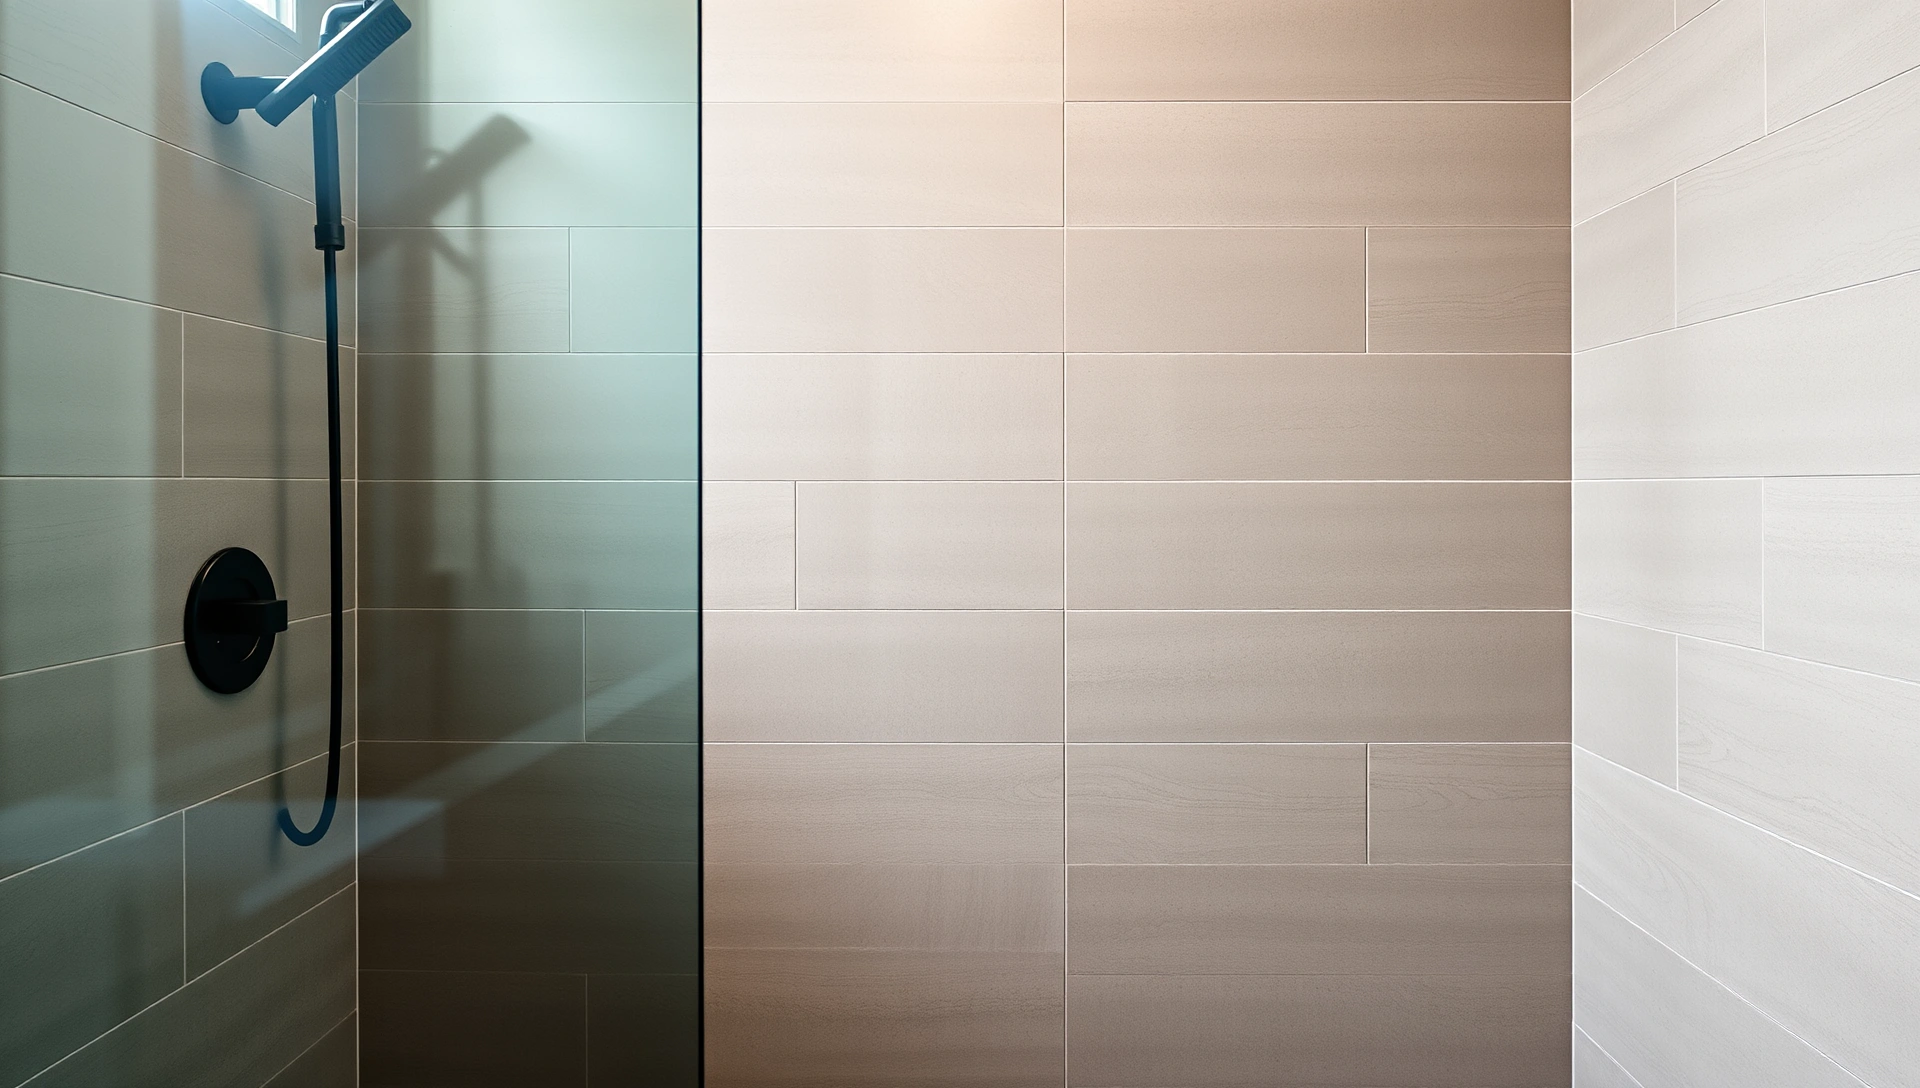
Modern Walk-In Shower With Subway Tile
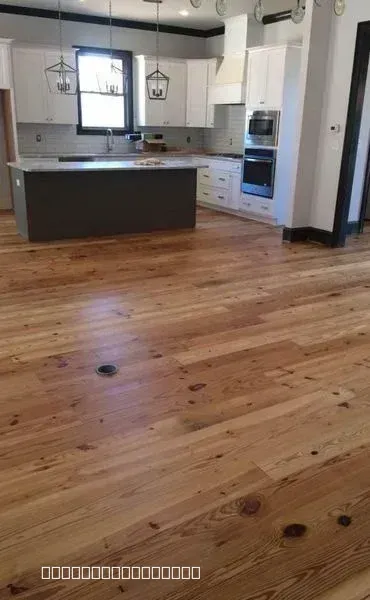
Modern Kitchen with New Hardwood Flooring
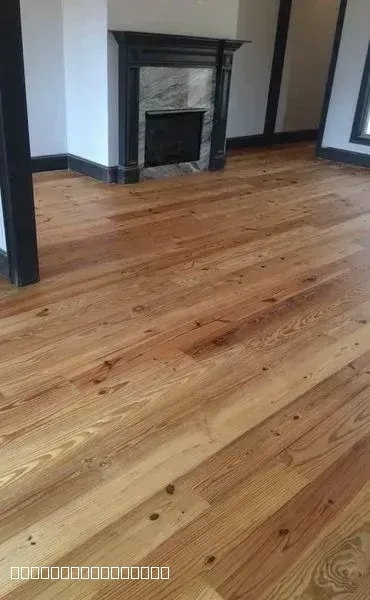
Beautiful Hardwood Flooring Installation with Fireplace
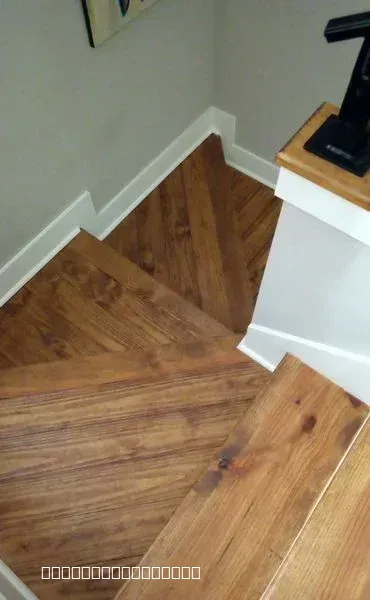
Custom Hardwood Staircase Flooring Installation Project
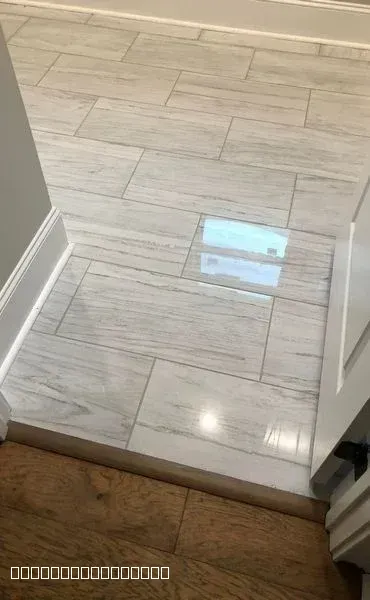
Professional Tile Installation in Modern Home
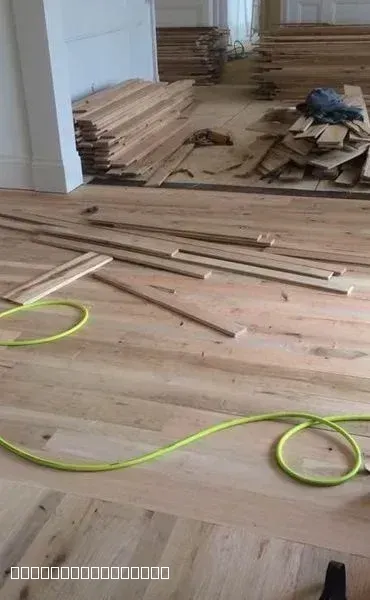
Hardwood Flooring Installation in Progress by TAV Construction
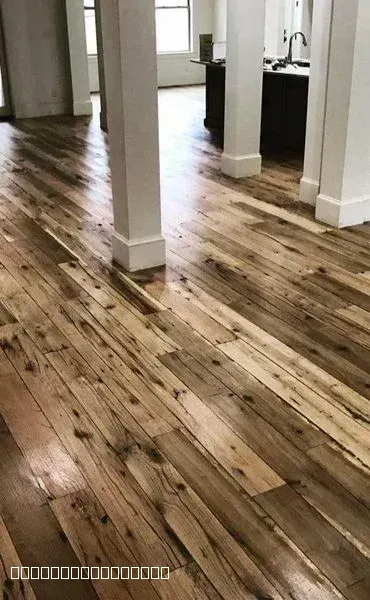
Rustic Hardwood Flooring Installation in Modern Home
Ready to Design Your Custom Mosaic?
Get a detailed estimate from TAV Construction. We serve Oxford, Tupelo, Corinth, New Albany, and all of North Mississippi.
Related Tile & Construction Services
Custom Tile Backsplashes
Full backsplash design and installation using the same precision layout technique we apply to mosaic work — sheet-aligned, grout-matched, and wrapped cleanly around every outlet and corner.
Learn More →Shower Tile Installation
Schluter-certified waterproofing, custom niches, and mosaic shower floors built for lasting performance in Oxford, MS and across North Mississippi.
Learn More →Drywall Repair & Patching
Mosaic accent walls and niche projects often expose damaged substrate. Our drywall crew preps the surface so your tile has a solid, flat foundation before installation begins.
Learn More →What Our Clients Say
Real feedback from homeowners across North Mississippi who trusted TAV Construction with their tile projects.
"Tav Construction exceeded our expectations on installing a runner for our staircase in our guest cottage. We look forward to using them again on future projects in our home in Plein Air"
Steve Corso
2026-05-12
"My experience with TAV Construction was great. Gavin the brick layer does excellent work. He's good at what he does. I would recommend him to anyone who's looking for someone who's dedicated to doing his job. My hat goes off to him..."
Reginald Nicholson
2026-04-17
"Excellent flooring work and very dependable."
Scott Hayes
2026-04-17
"Glevin is a kind and generous human being - and from there, his talent flows. I've worked with him multiple times, hiring him to install tile, flooring - anything where finish counts. He is dependable, reasonable, thoughtful and considerate. A true professional."
Matthew Hackworth
2026-03-12
""
Reuben Jaime
2025-12-05
""
Sultan Fadel (Alsultanko)
2025-12-04
Mosaic Tile Installation — Common Questions
Everything you need to know before starting your mosaic project in Oxford, MS.
1Is mosaic tile hard to maintain?
Mosaic tile is straightforward to maintain when the right grout is used upfront. Standard Portland-based grout requires an annual penetrating sealer to resist staining and mildew — especially in wet areas like shower floors. Epoxy grout eliminates that maintenance step entirely: it cures harder than cement grout, repels moisture, and resists most household cleaners indefinitely. The small tile format actually works in your favor for safety — the high grout-to-tile ratio creates surface friction that makes mosaic one of the best slip-resistant flooring options for bathrooms.
2How much does mosaic tile installation cost in Oxford?
Mosaic tile installation in Oxford, MS typically runs $18–$40 per square foot for labor, compared to $12–$25 for standard large-format tile. The premium reflects the additional time required to align sheet edges, hand-set border tiles, and grout a much higher density of joints. Pattern complexity also affects price: a running-bond sheet mosaic installs faster than a custom herringbone or medallion inlay. Materials cost depends heavily on tile type — glass and marble mosaics carry a premium over porcelain. We provide itemized estimates so you know exactly where each dollar goes.
3Can I use mosaic tile for a shower floor?
Mosaic tile is an ideal choice for shower floors, and in many ways the best choice. The small tile format follows the curved pre-slope mortar bed without cracking — something large-format tiles struggle with on compound drainage slopes. The dense grid of grout joints creates friction underfoot, significantly reducing slip risk in a wet environment. We typically use 2×2 or penny-round mosaics on shower floors with sanded epoxy grout, which fills the joints completely, resists staining, and doesn't require yearly sealing the way Portland grout does.
4How do you avoid seeing the 'squares' in mosaic sheets?
The grid pattern from mesh-backed mosaic sheets becomes visible when installers simply butt sheets edge-to-edge without accounting for the spacing differential between tiles within a sheet and tiles across sheet edges. We eliminate this by measuring the inter-tile gap within each sheet, then setting adjacent sheets at exactly that same spacing. At sheet boundaries, we hand-adjust individual tiles as needed. For larger installations, we also stagger sheet joints — similar to staggering brickwork — so no continuous seam runs the full length of the wall. The result is a surface where the eye reads a continuous pattern rather than a grid of rectangular panels.
5What is the best grout for glass mosaic tile?
Glass mosaic tile requires non-sanded grout in joints up to 1/8 inch wide. Standard sanded grout contains silica particles that will scratch the glass surface during application and cleaning, dulling the finish permanently. For glass tile, we use a premium unsanded grout with fine pigment consistency that packs into tight joints without abrasion. For clients who want the highest-performance finish — especially in wet areas — translucent epoxy grout is an excellent option: it doesn't require sealing, resists staining, and can be color-matched precisely to complement the glass tones rather than compete with them.
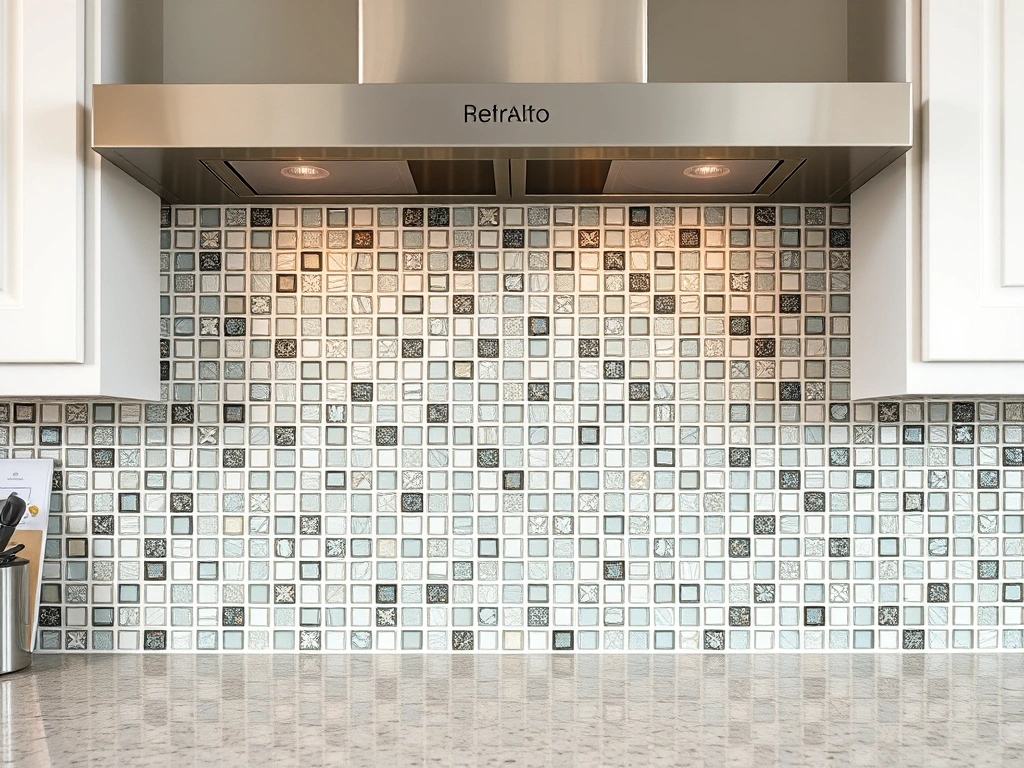
6Does mosaic tile work for kitchen backsplashes?
Kitchen backsplashes are one of the most popular applications for mosaic tile, and for good reason. The small tile format wraps around outlets, corners, and range hoods cleanly — eliminating the awkward cuts that large-format tile requires in those transitions. Mosaic is particularly effective as a focal accent behind the range, where a contrasting pattern or material (glass, mother-of-pearl, metal) creates a high-end statement without tiling the entire wall. Maintenance behind a range is simplified with epoxy grout, which resists grease absorption and wipes clean easily.
7How long does it take to install a mosaic backsplash?
A standard kitchen backsplash — 20 to 40 square feet — typically takes one full day to set and a second half-day to grout, clean, and seal. Setting time includes surface prep, layout planning, adhesive application, tile placement, and sheet alignment. Thin-set needs 24 hours to cure before grouting begins. If an epoxy grout sealer or penetrating sealer is applied as a final step, add another 24 hours before the surface is exposed to water or cooking grease. More complex installations with custom medallions, mixed materials, or heavy corner wrapping may extend the timeline by a day.
8Where can I find mosaic specialists in Lafayette County?
TAV Construction is based in Oxford and serves all of Lafayette County along with the broader North Mississippi region — including Batesville, Holly Springs, New Albany, Corinth, and Tupelo. We specialize in high-detail tile work that goes beyond standard installation: custom inlays, hand-set patterns, glass and marble mosaics, and coordinated multi-surface projects where the mosaic accent tile ties into the wider design of the space. Call us at (662) 371-3921 or fill out our contact form to schedule a free on-site estimate.
Still have questions?
We're here to help you find the answers.
Expert Mosaic Tile Installation in North Mississippi
From layout planning to final grout buff — TAV Construction handles every detail. Call us or fill out our contact form to get your free estimate.